Dango Information

Increases the number of Kamura Points you receive at the end of a quest by 20%.

Decreases stamina depletion while wall running.

Reduces stamina consumption for a certain period after eating.
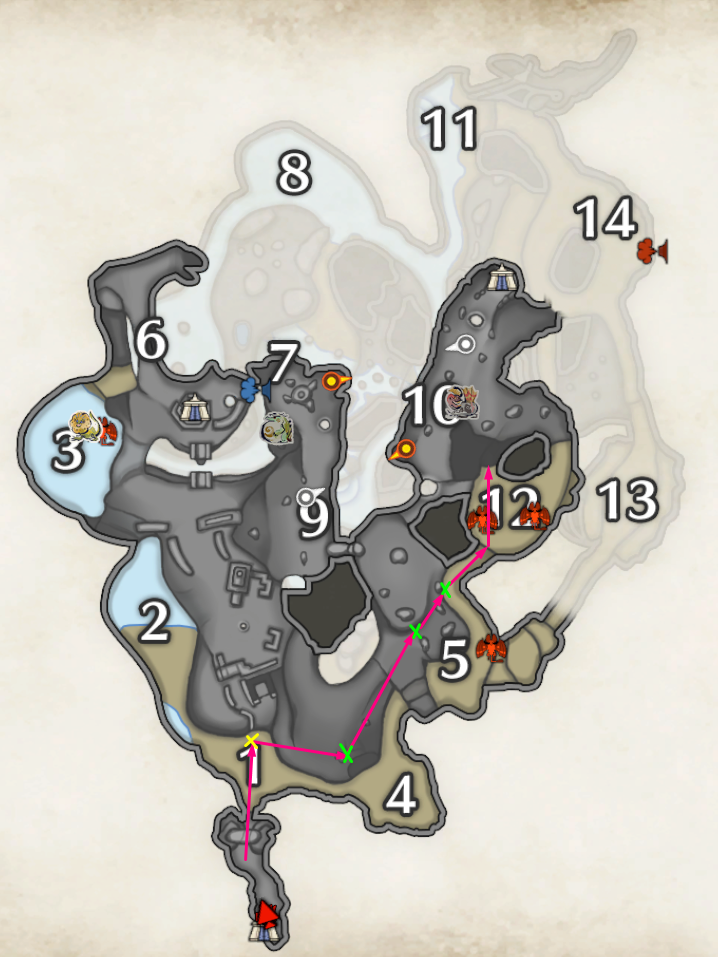
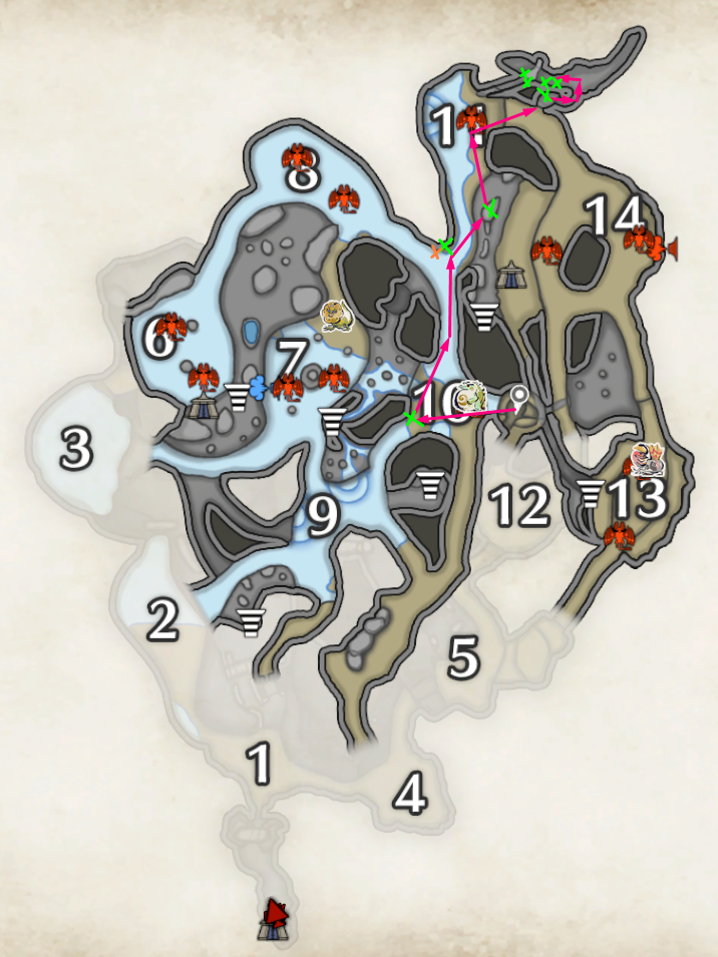
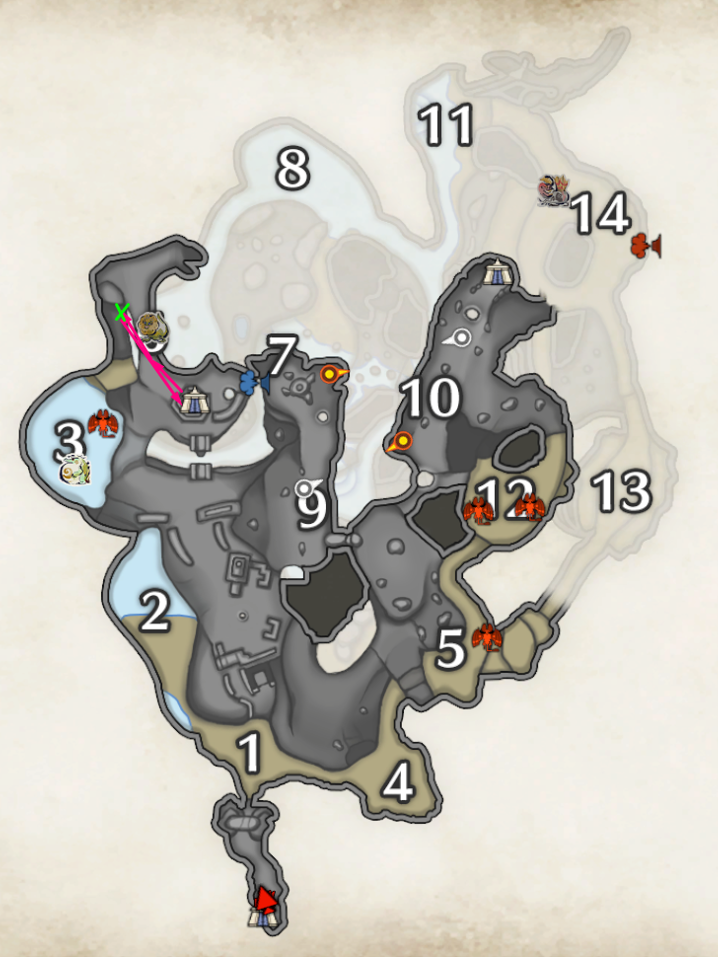
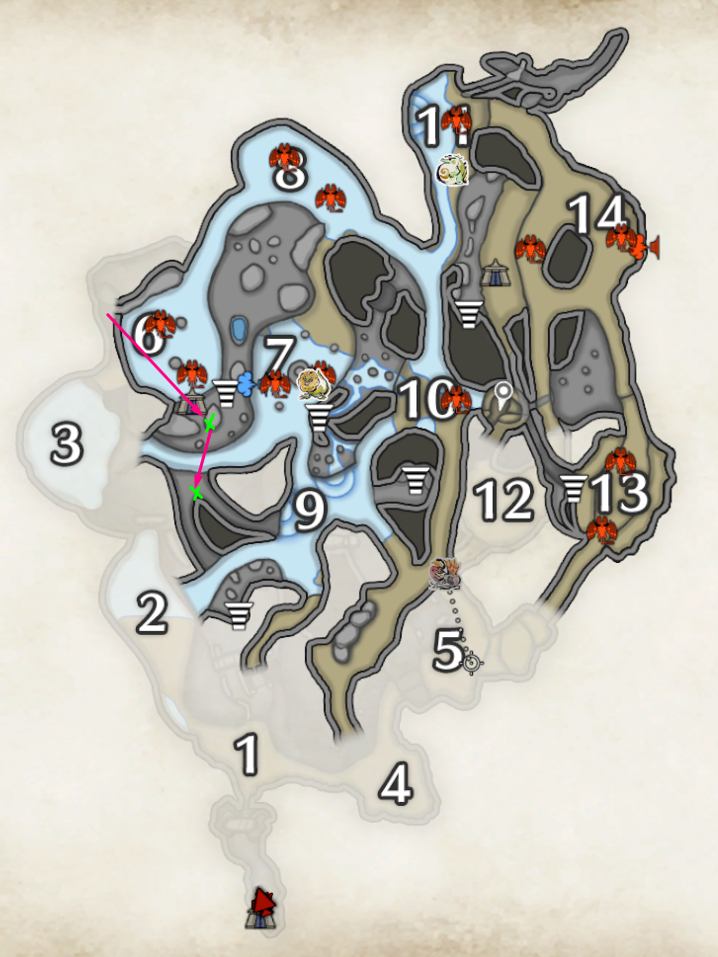
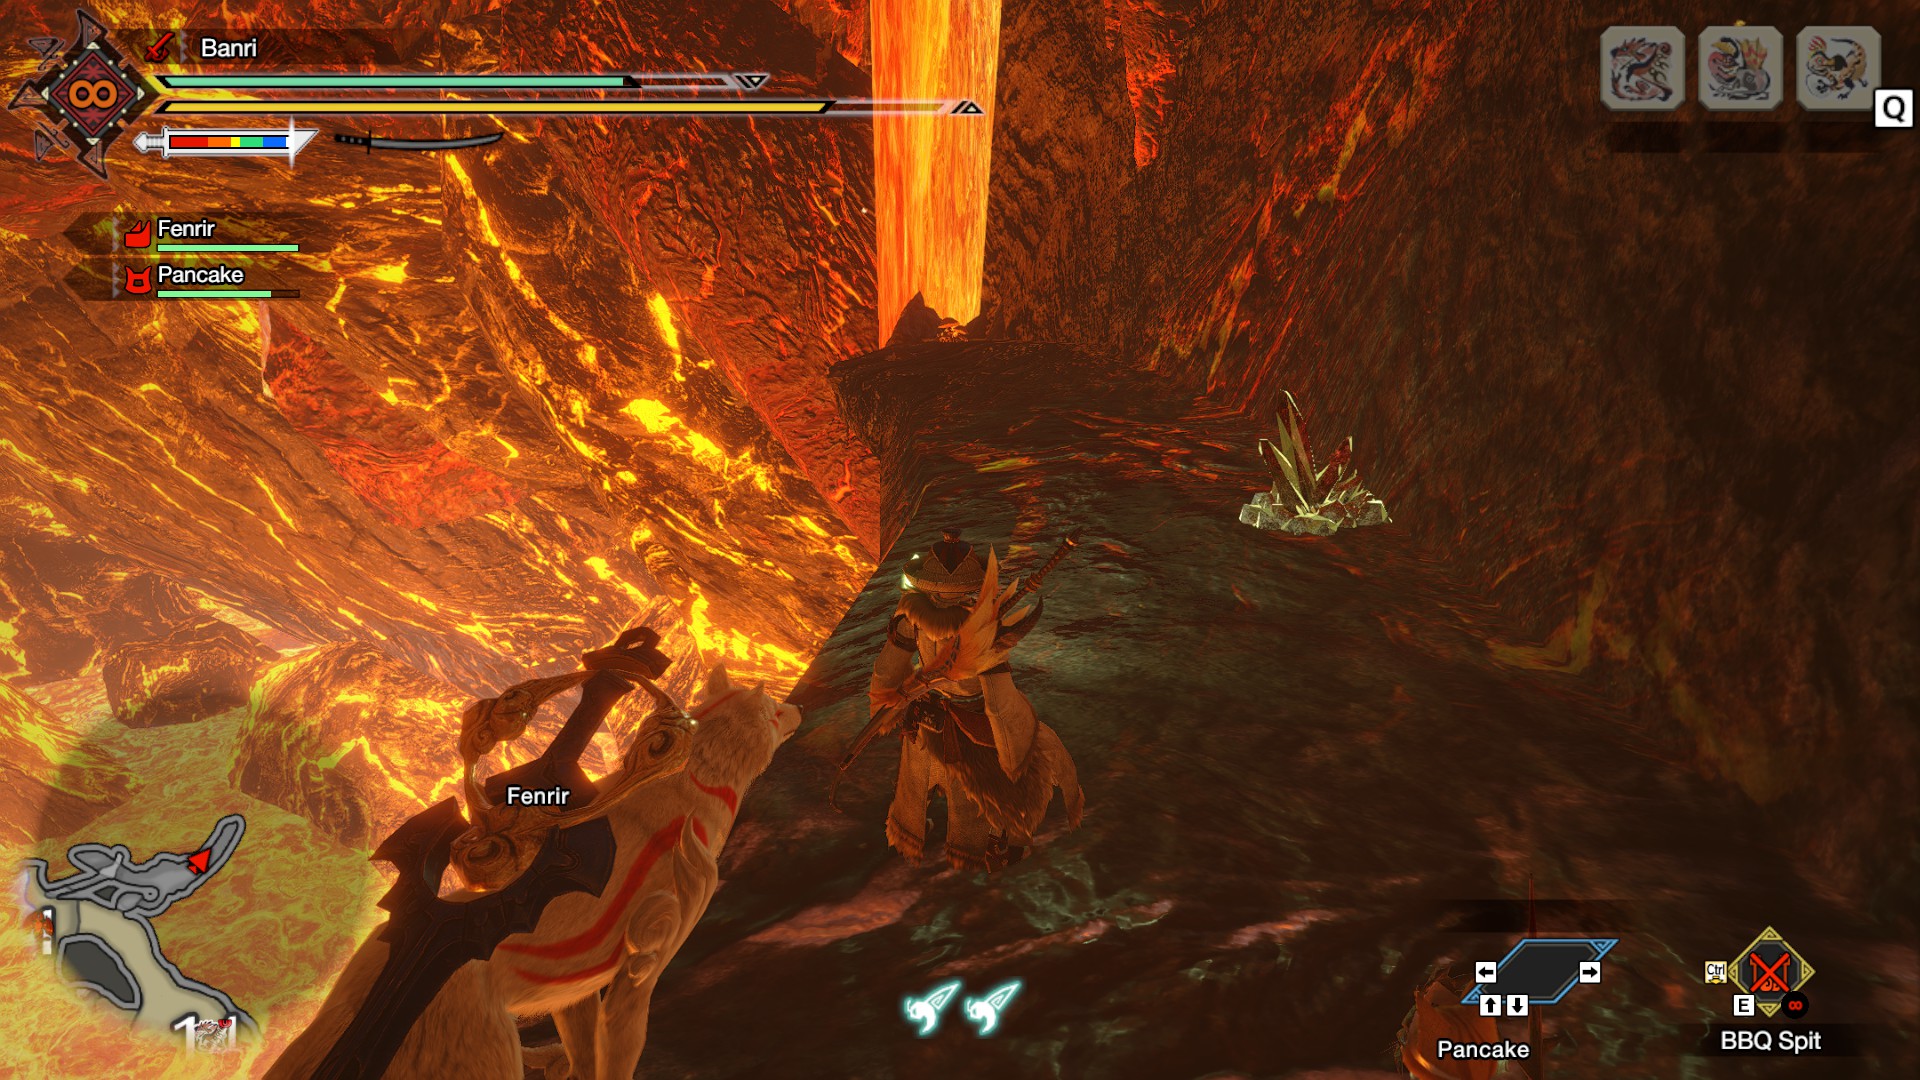
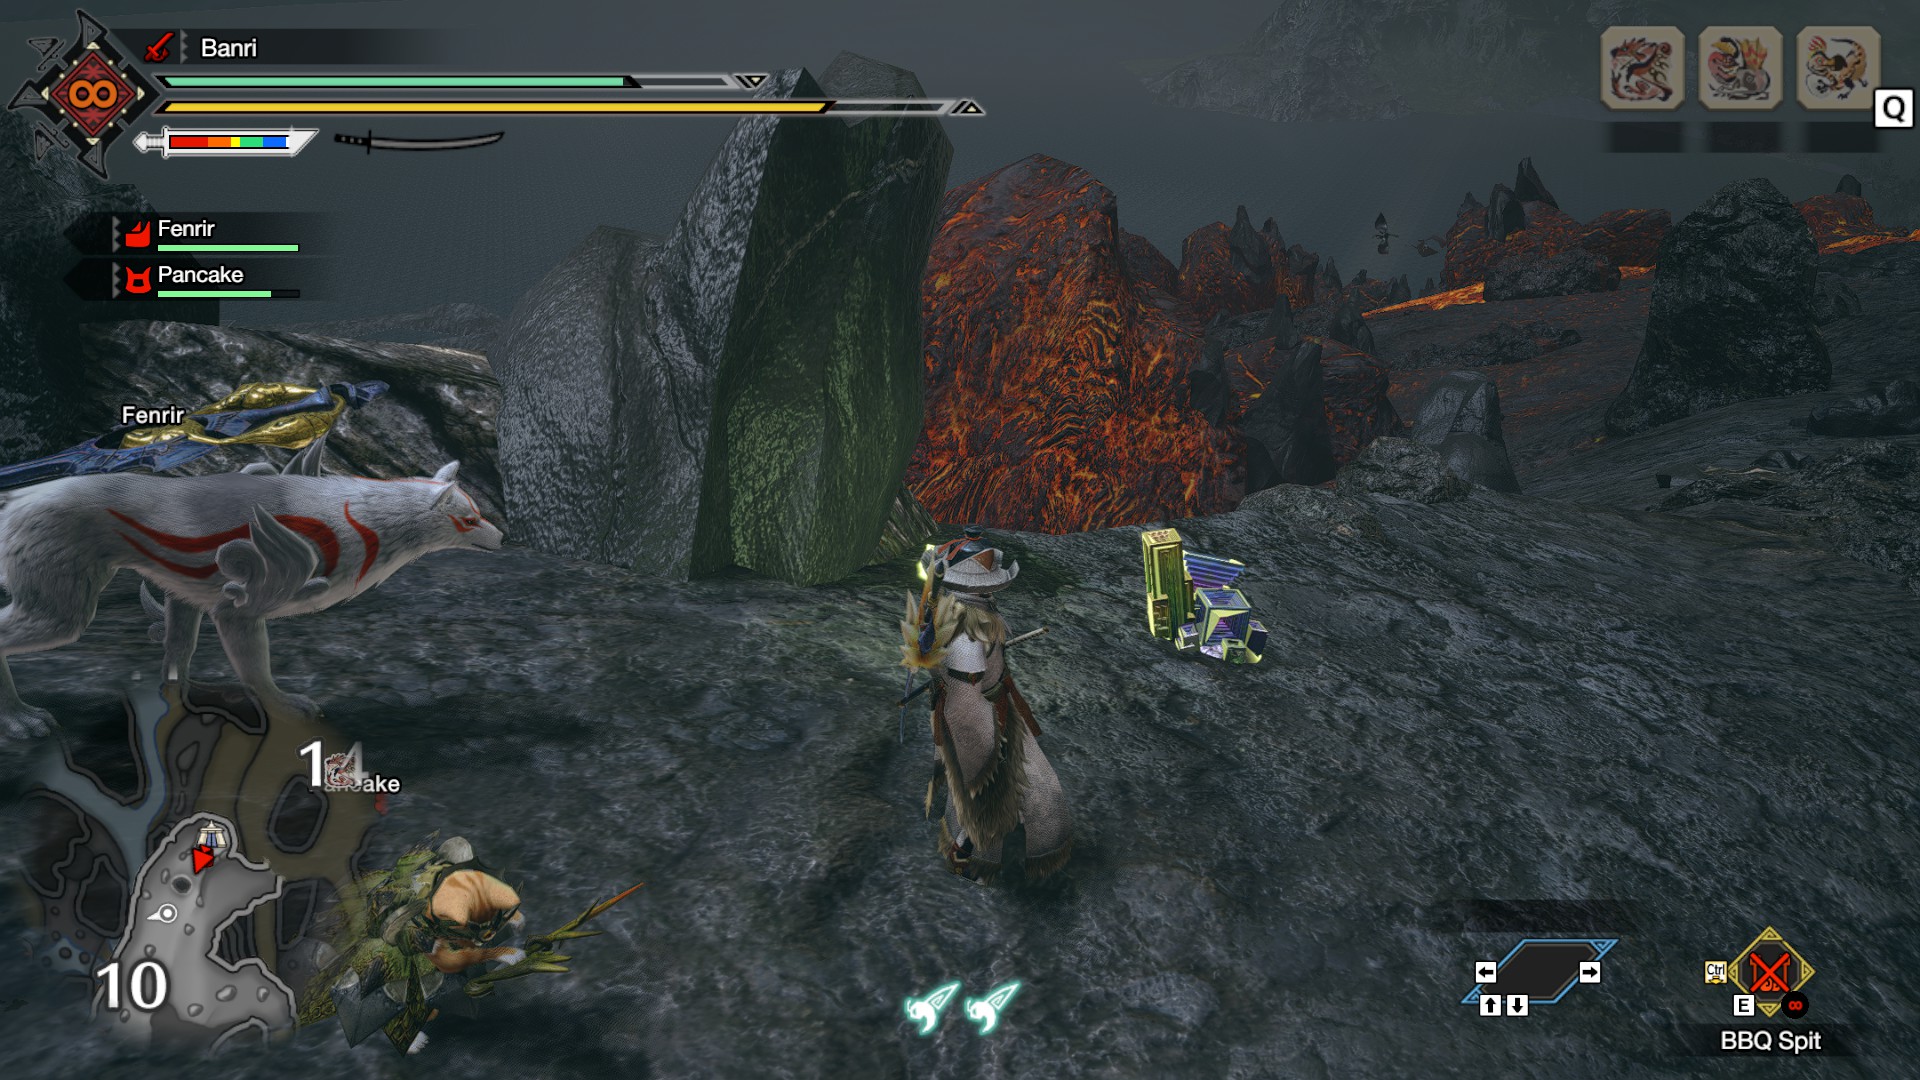
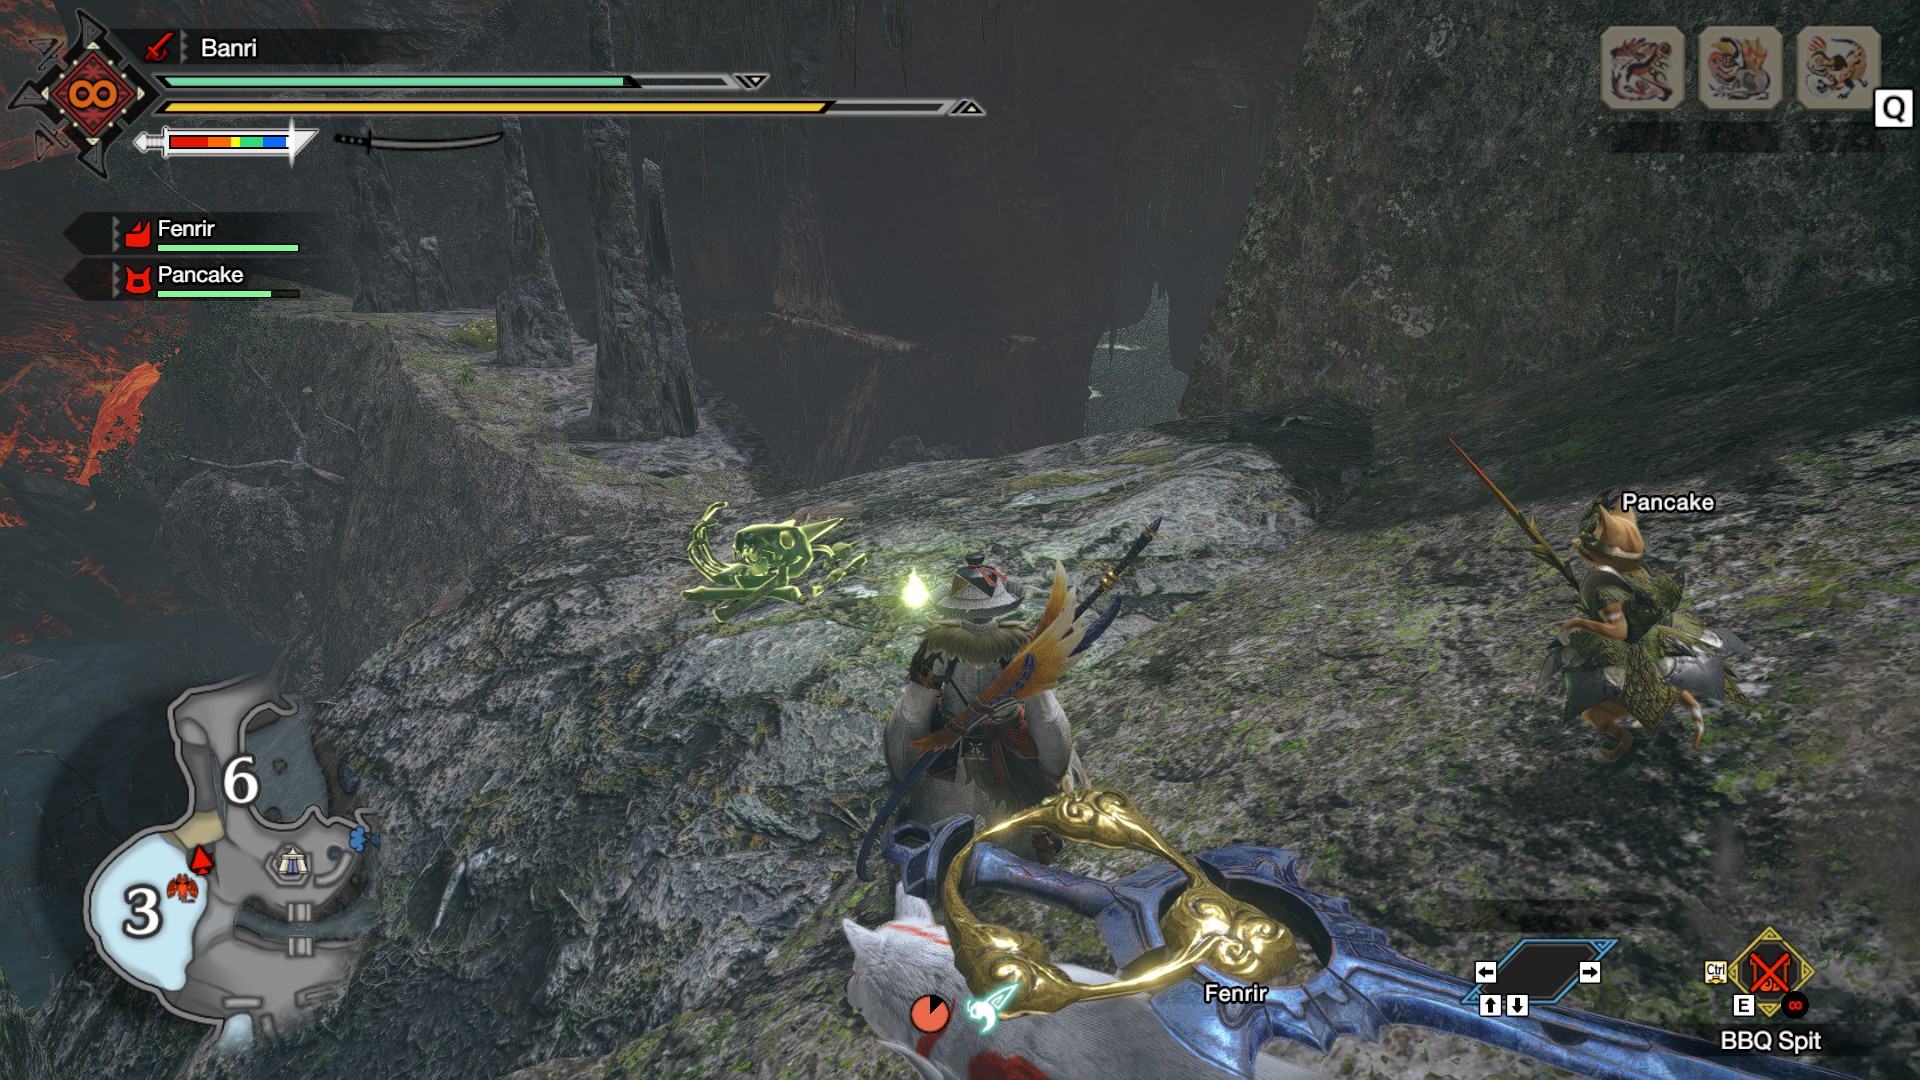
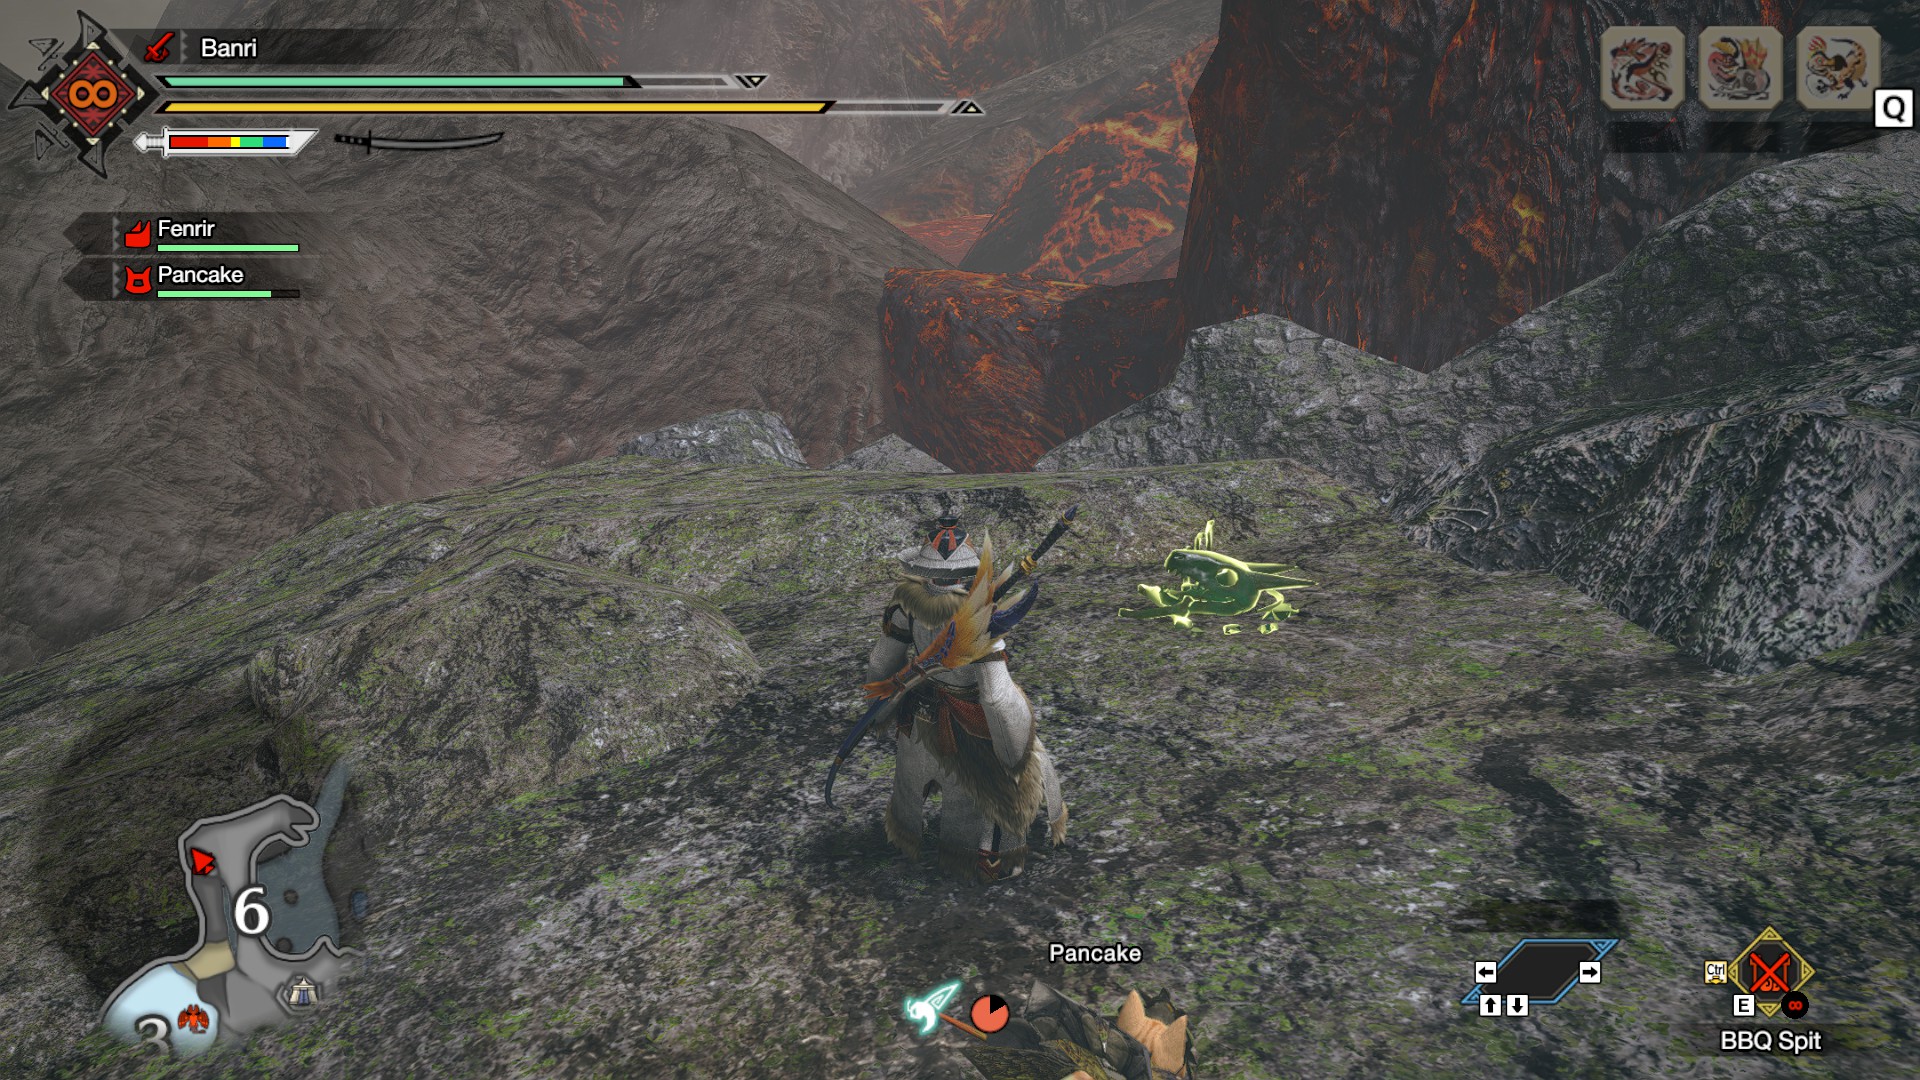
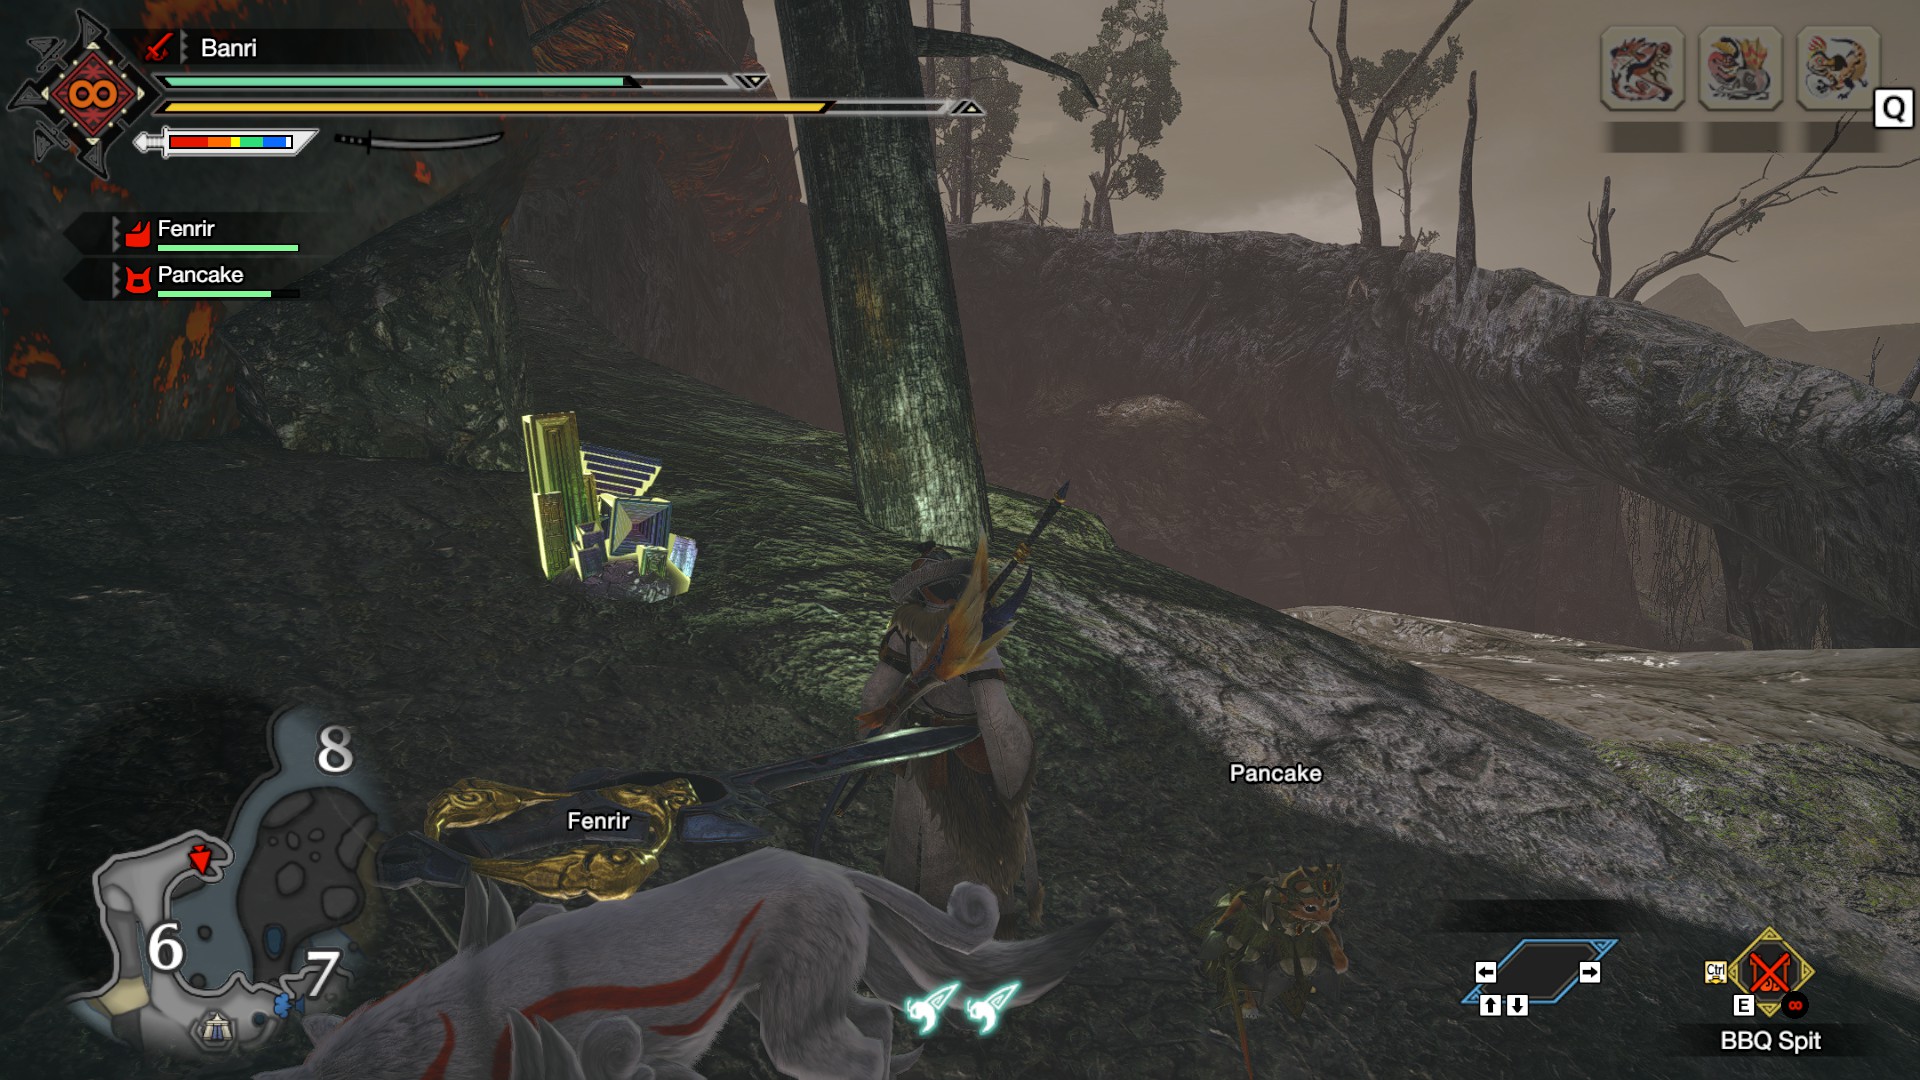
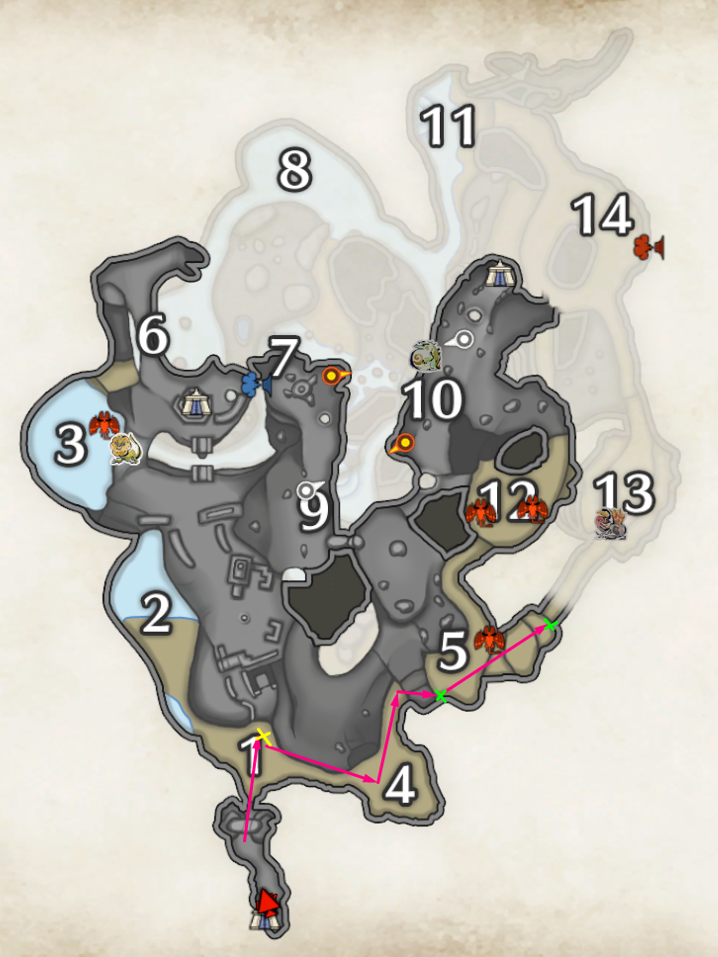
A guide to acquire 400K Zenny & 35-50K in appoximately 10-15 minutes.
Increases the number of Kamura Points you receive at the end of a quest by 20%.
Decreases stamina depletion while wall running.
Reduces stamina consumption for a certain period after eating.
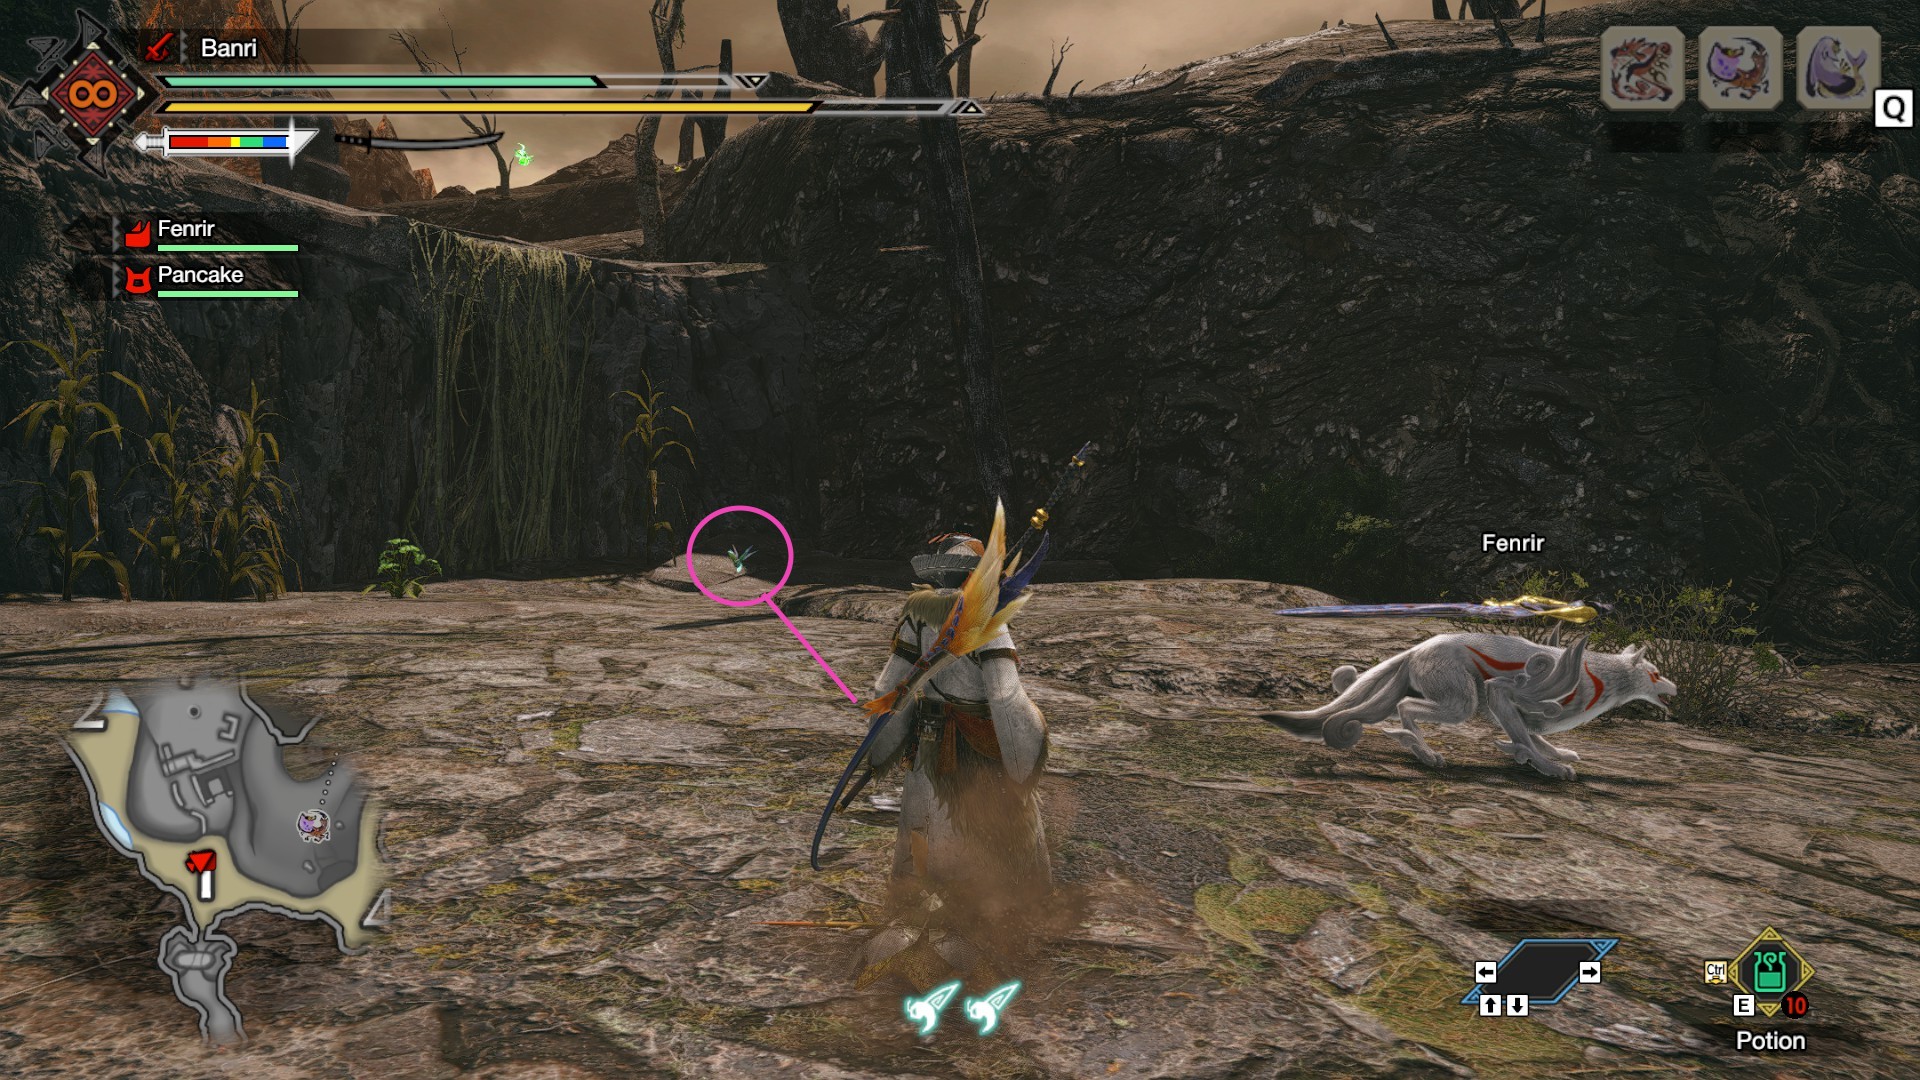
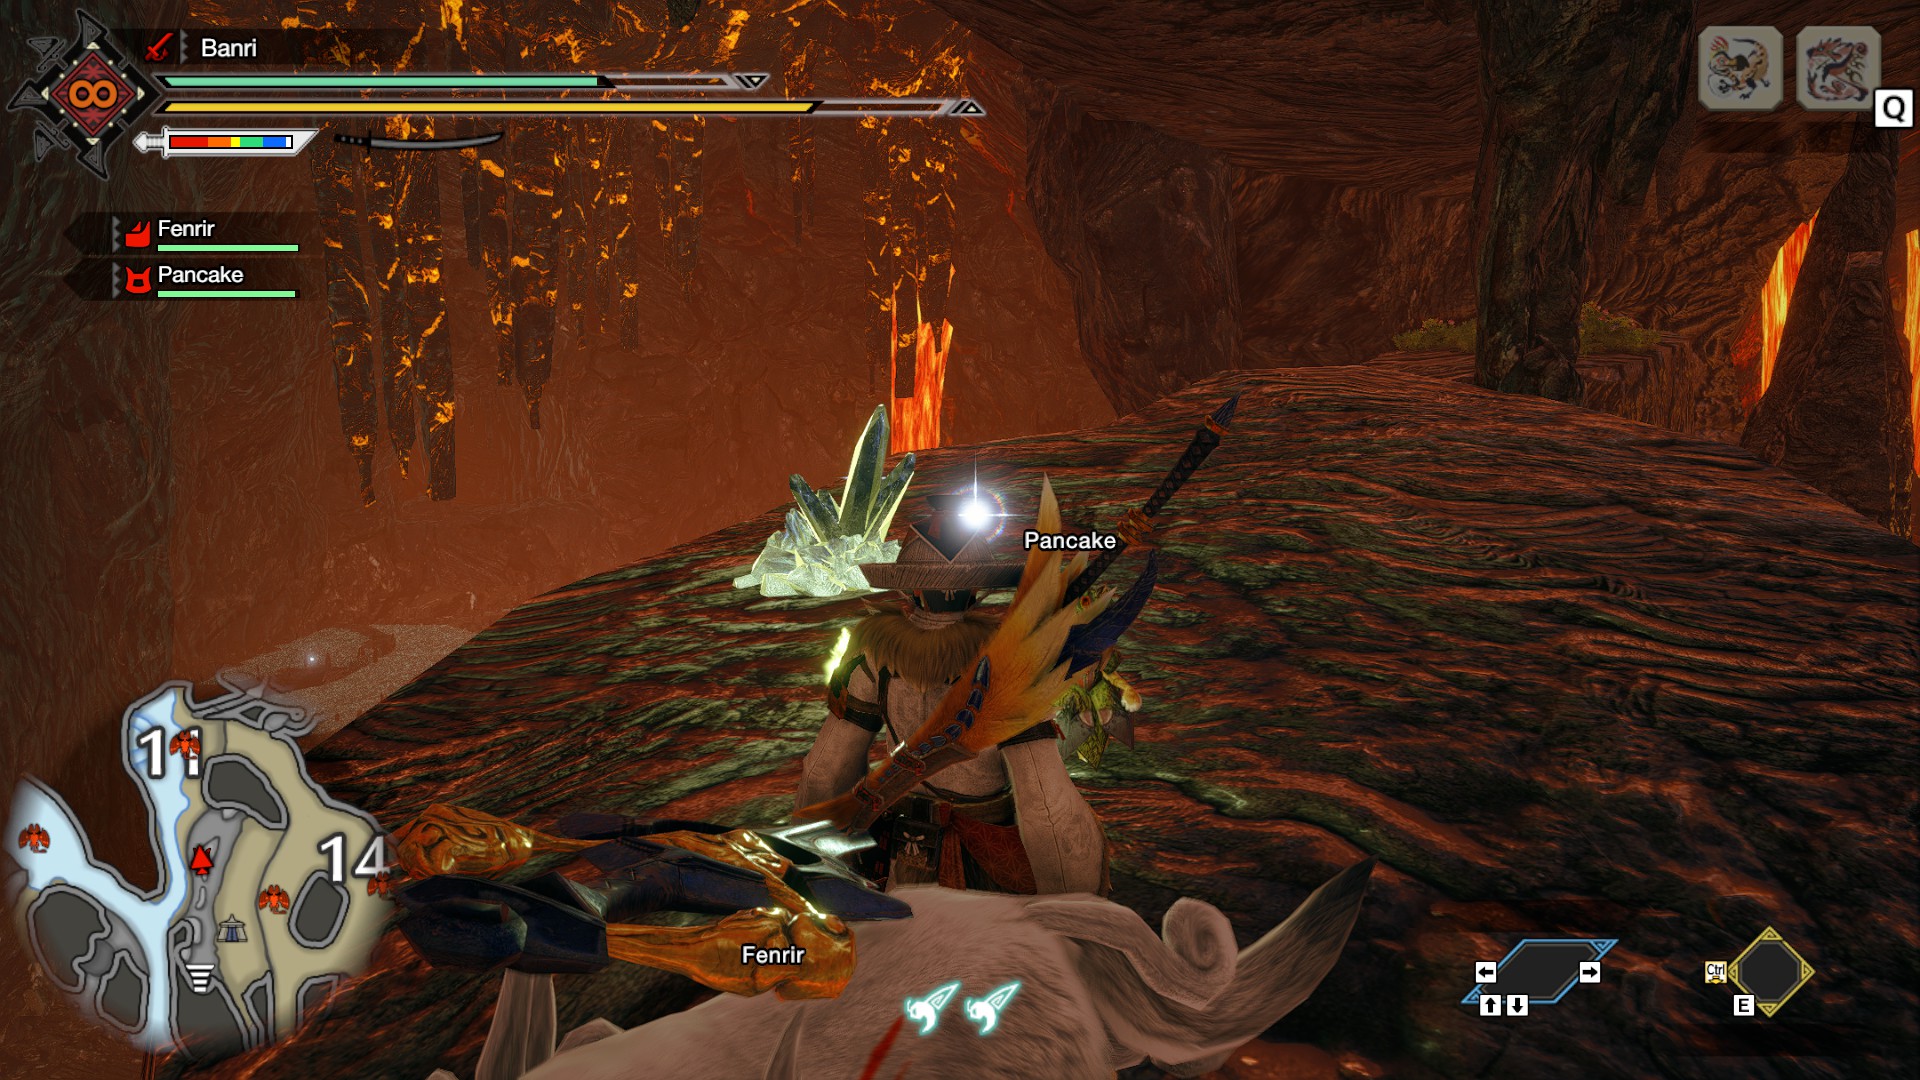
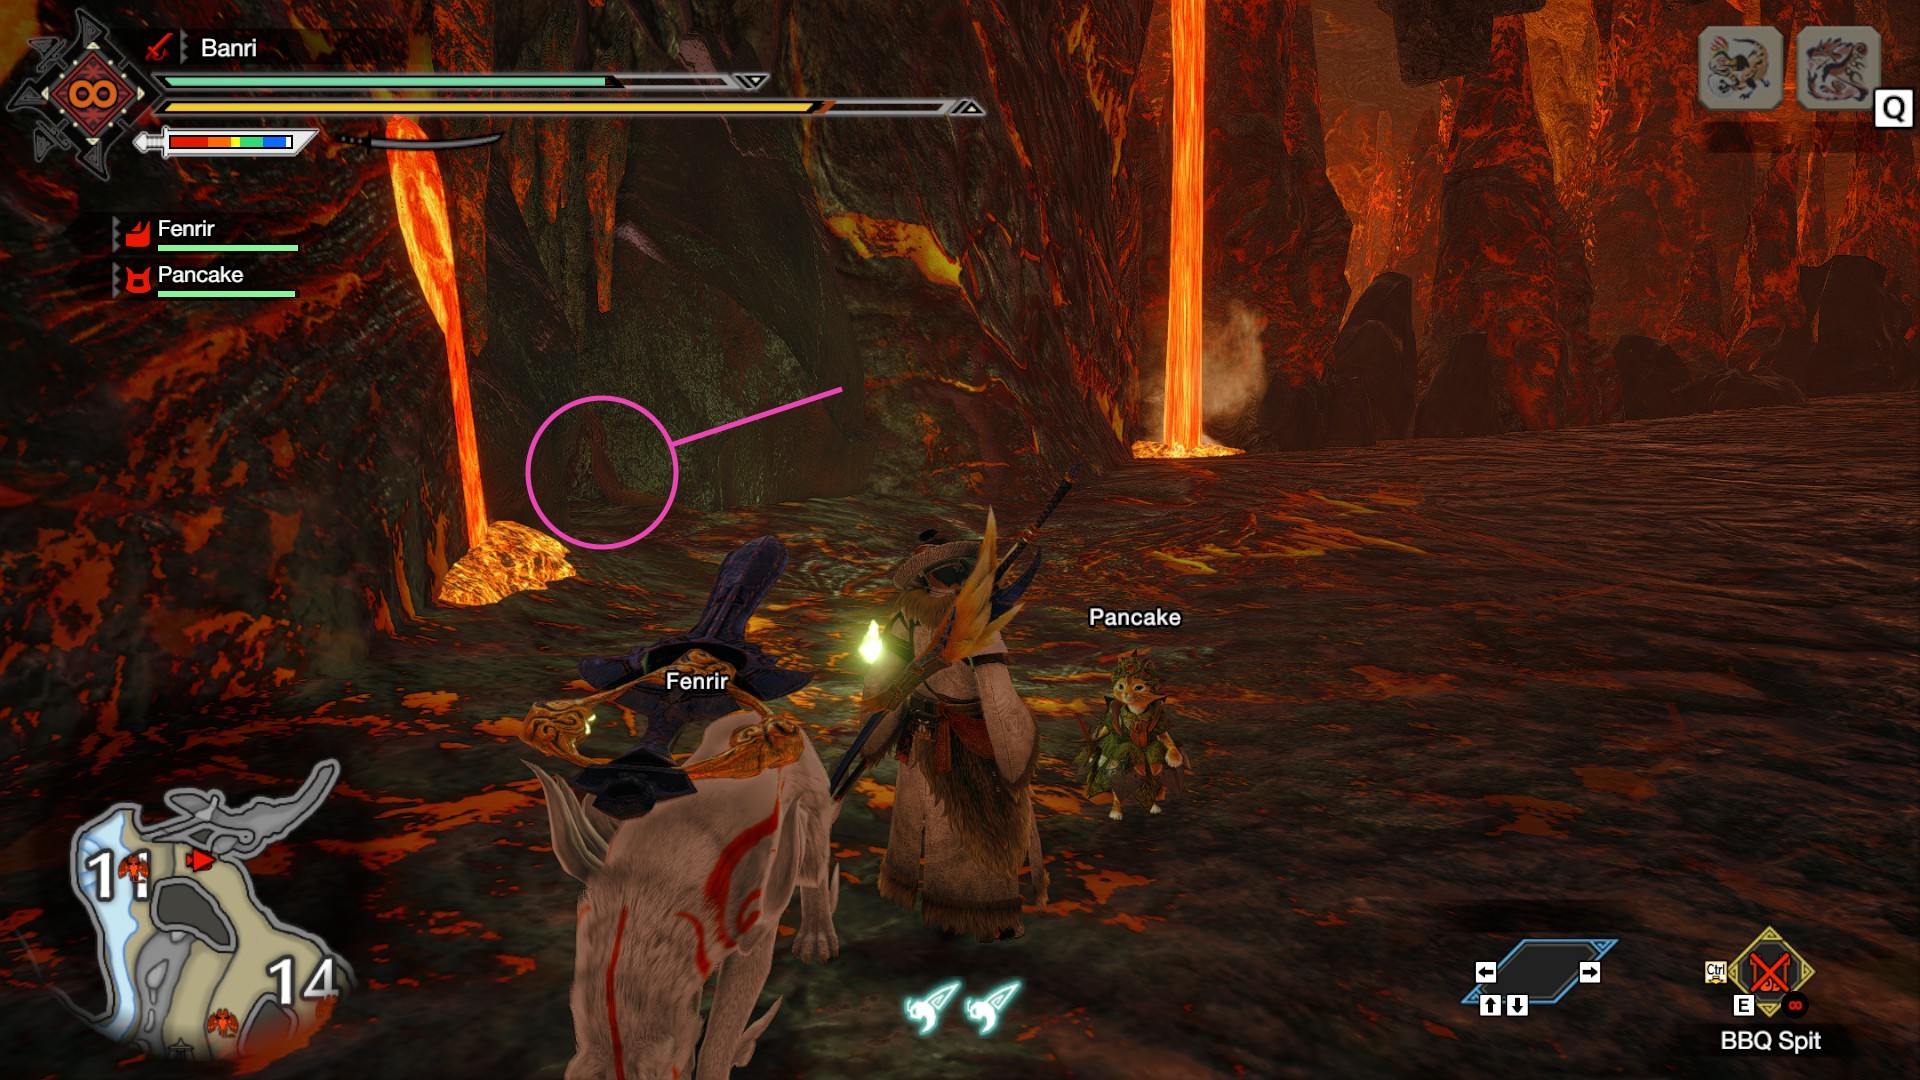
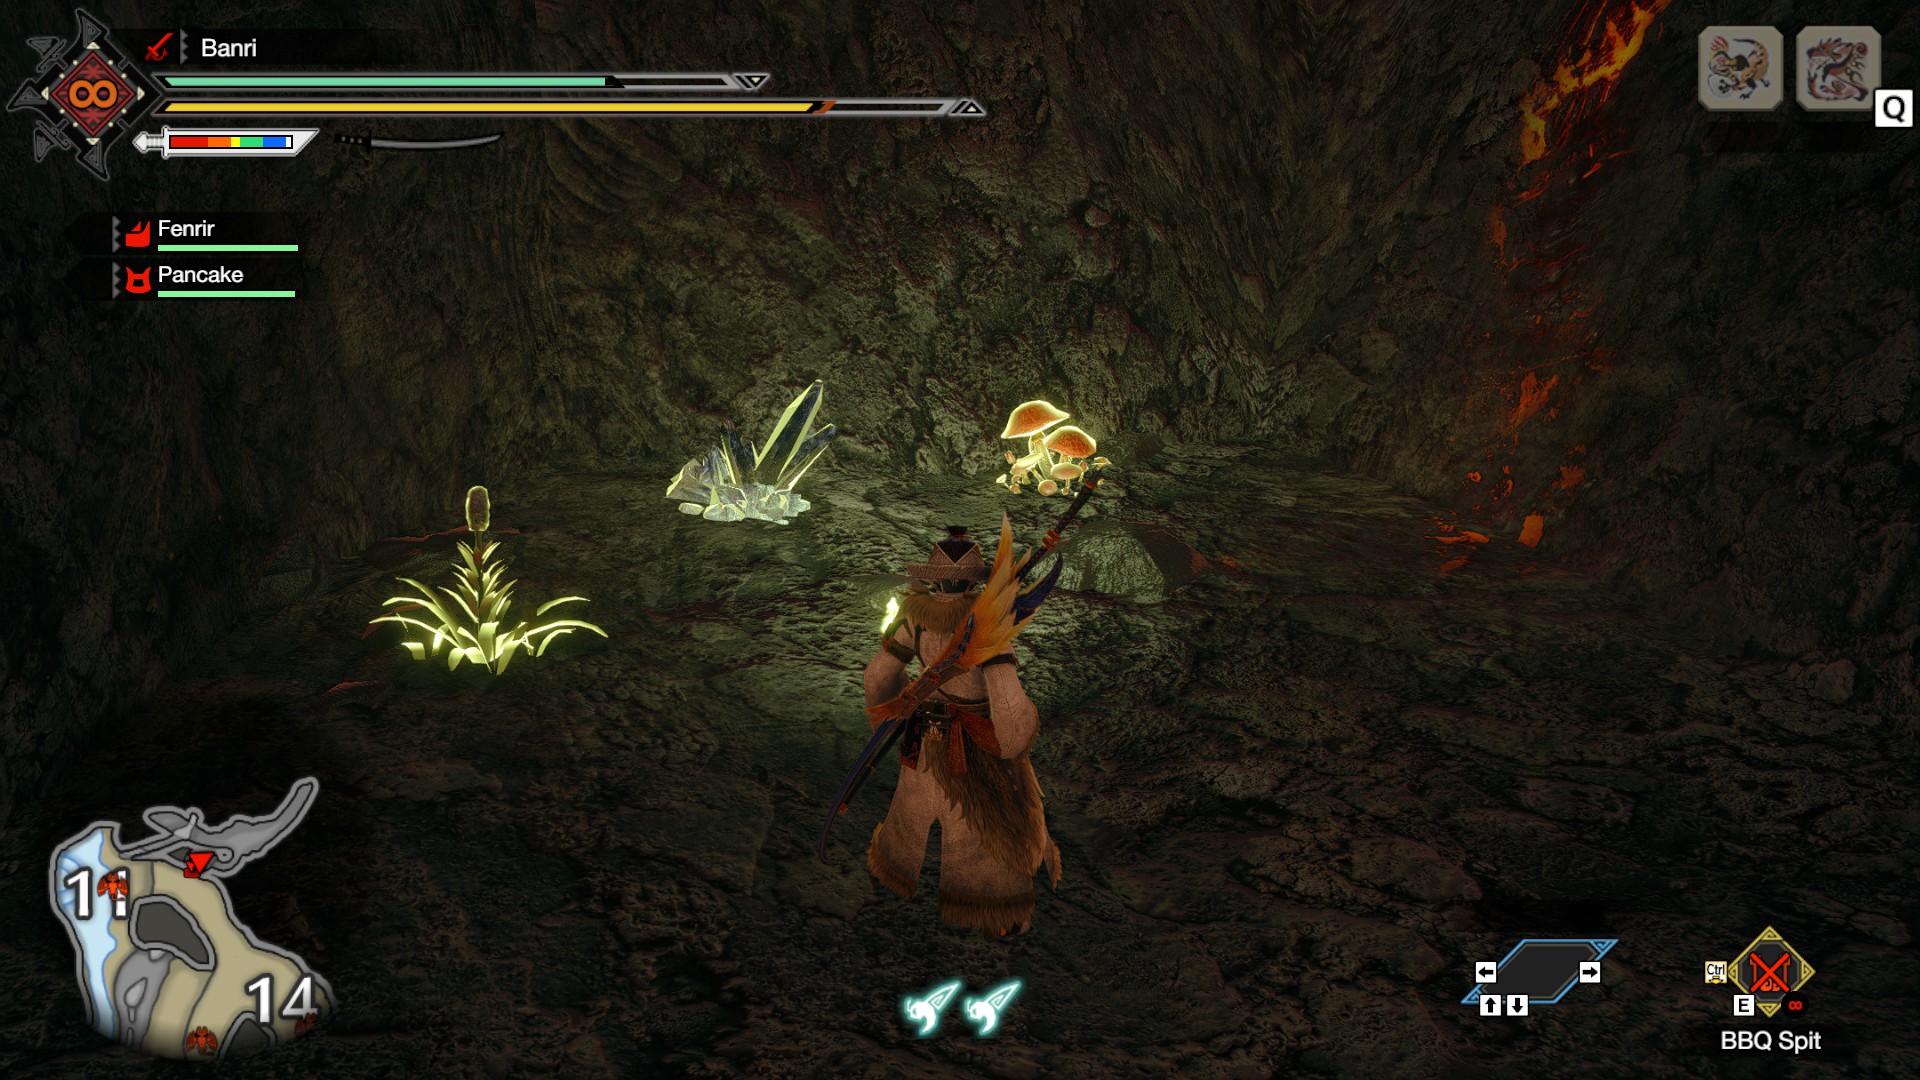
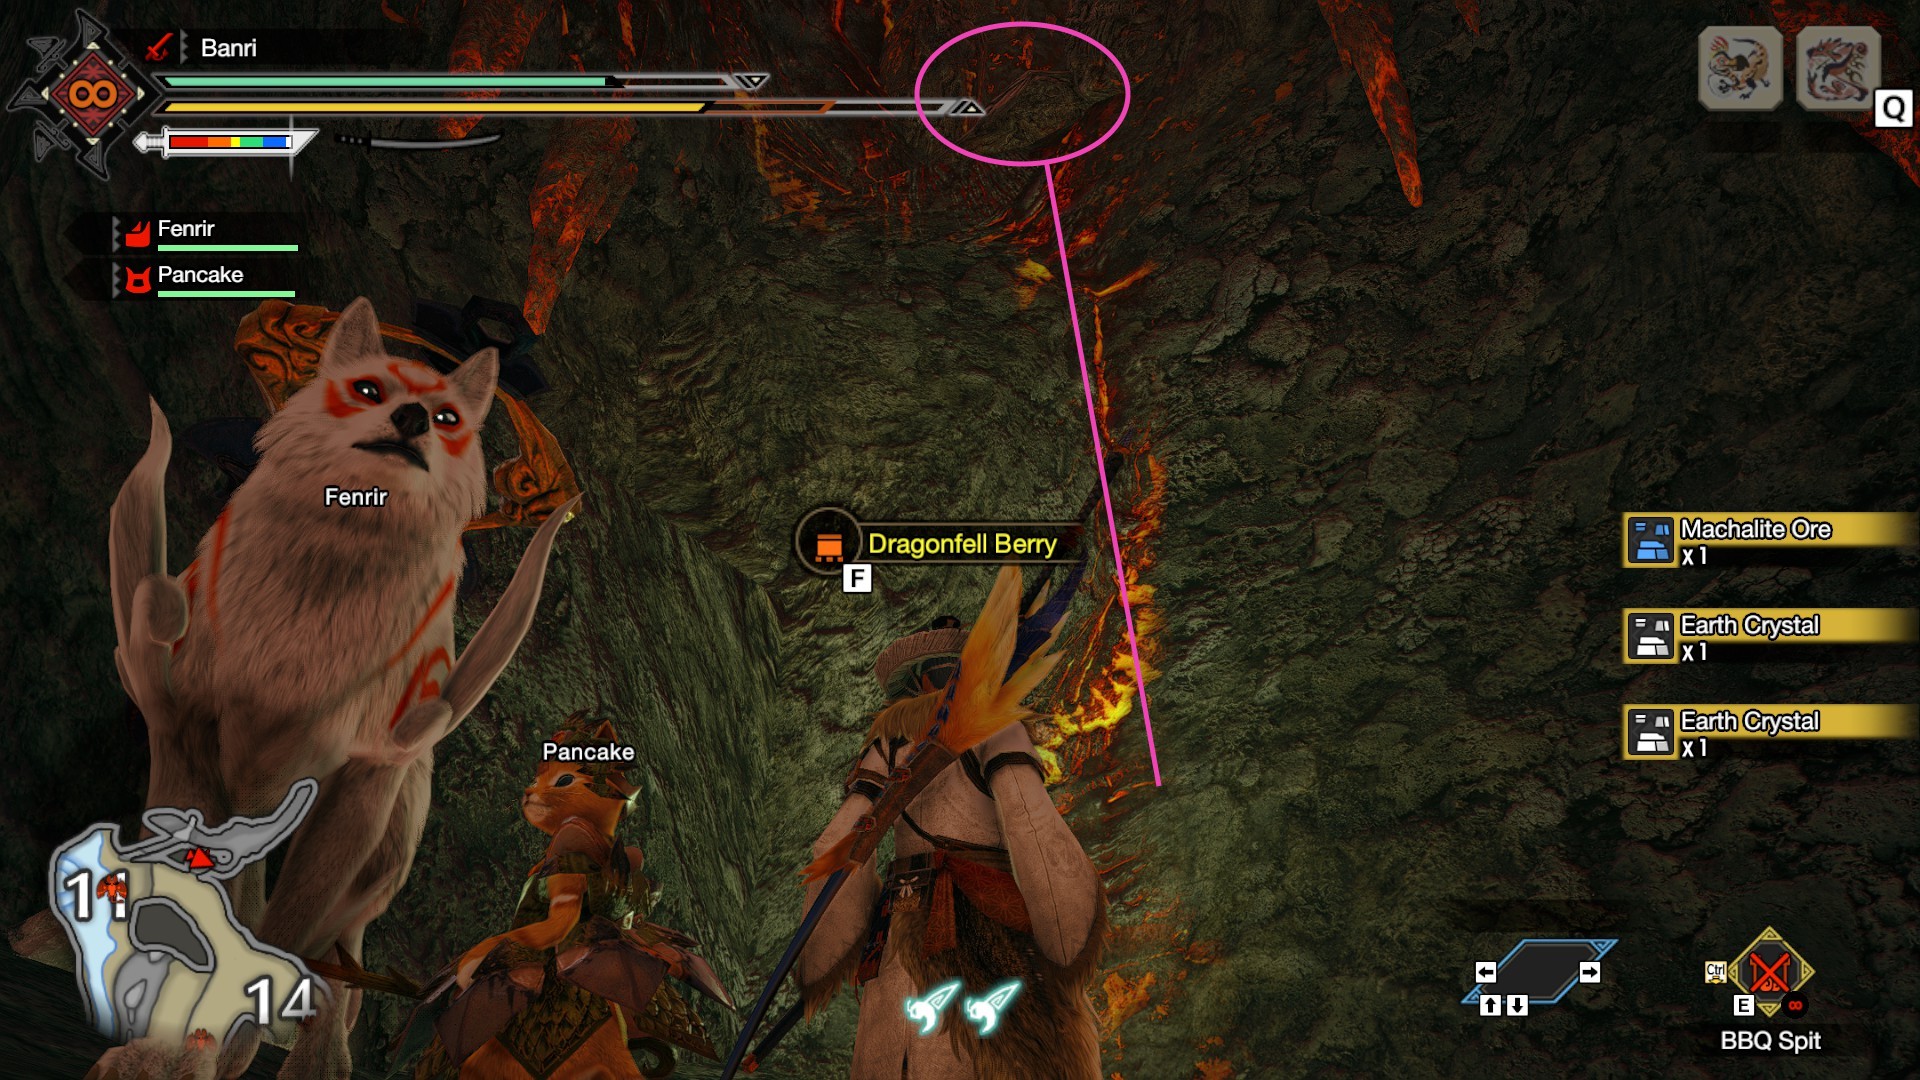
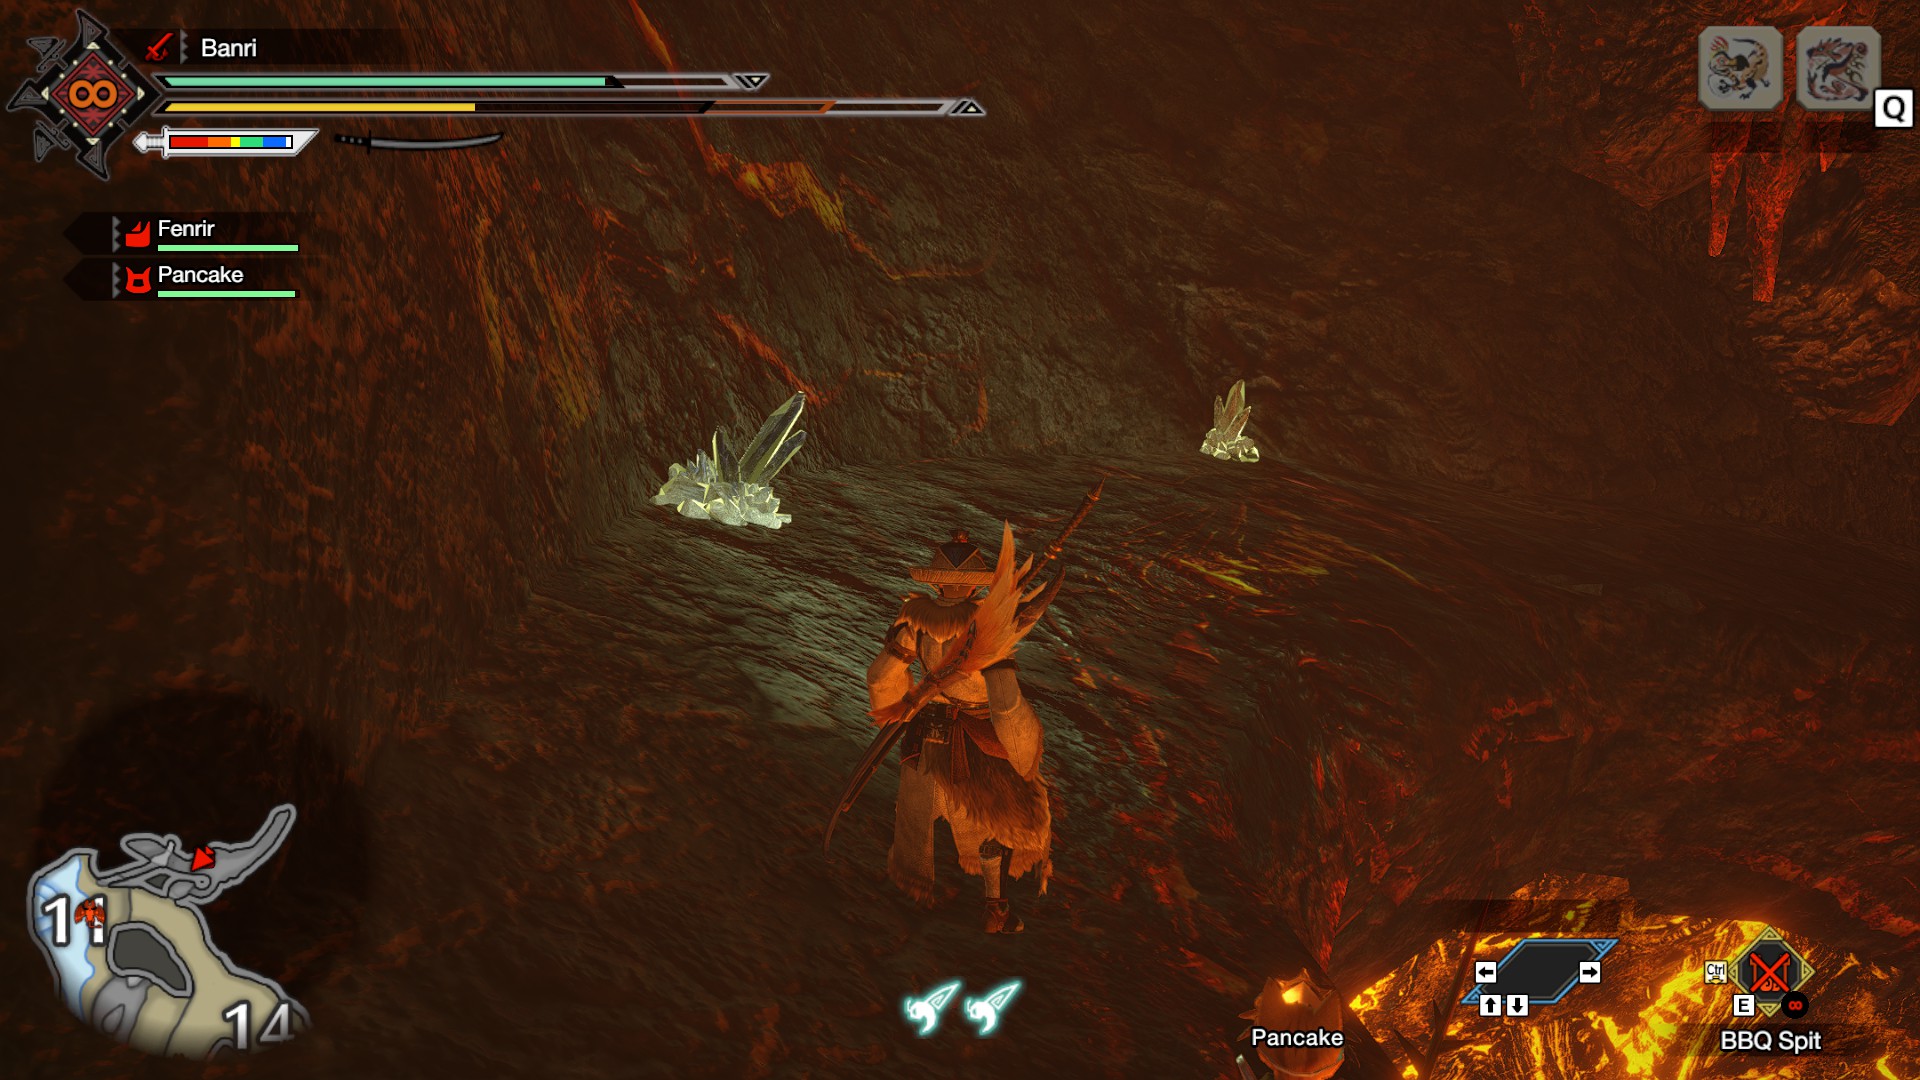
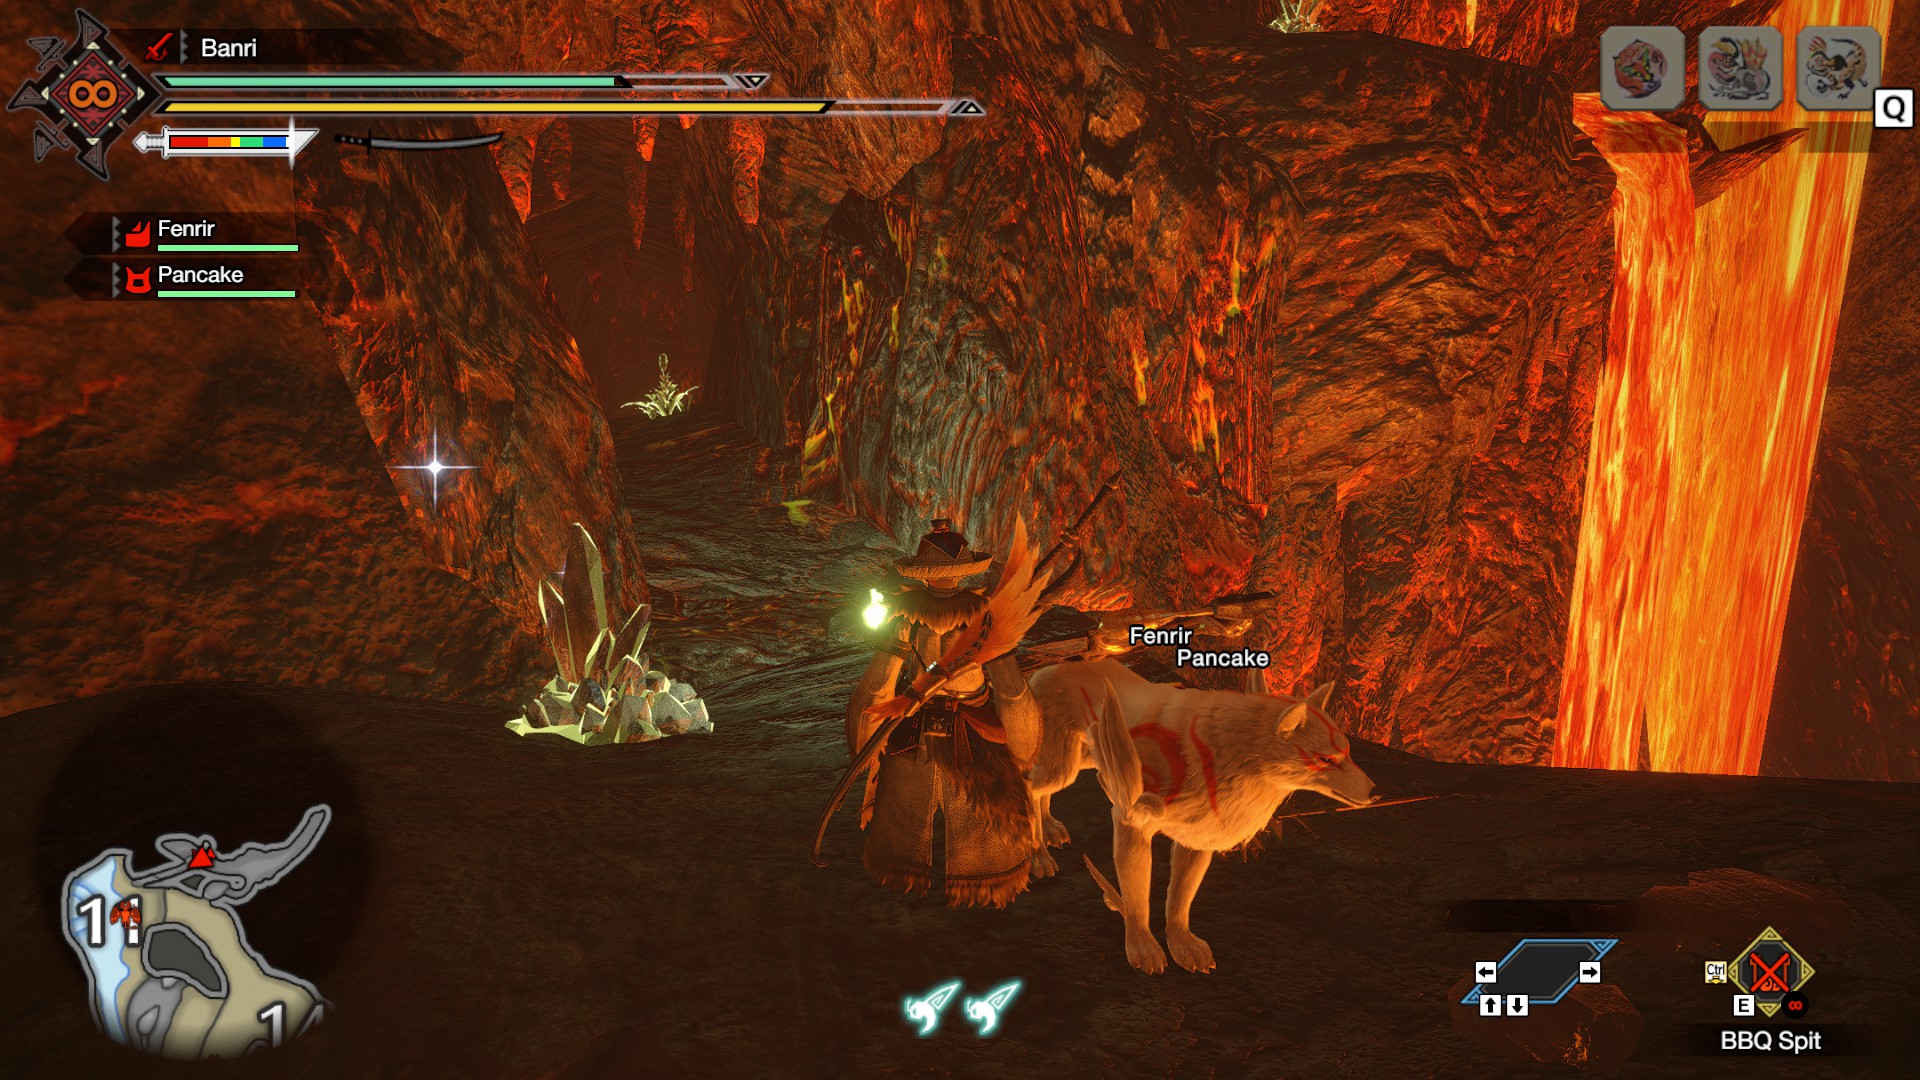
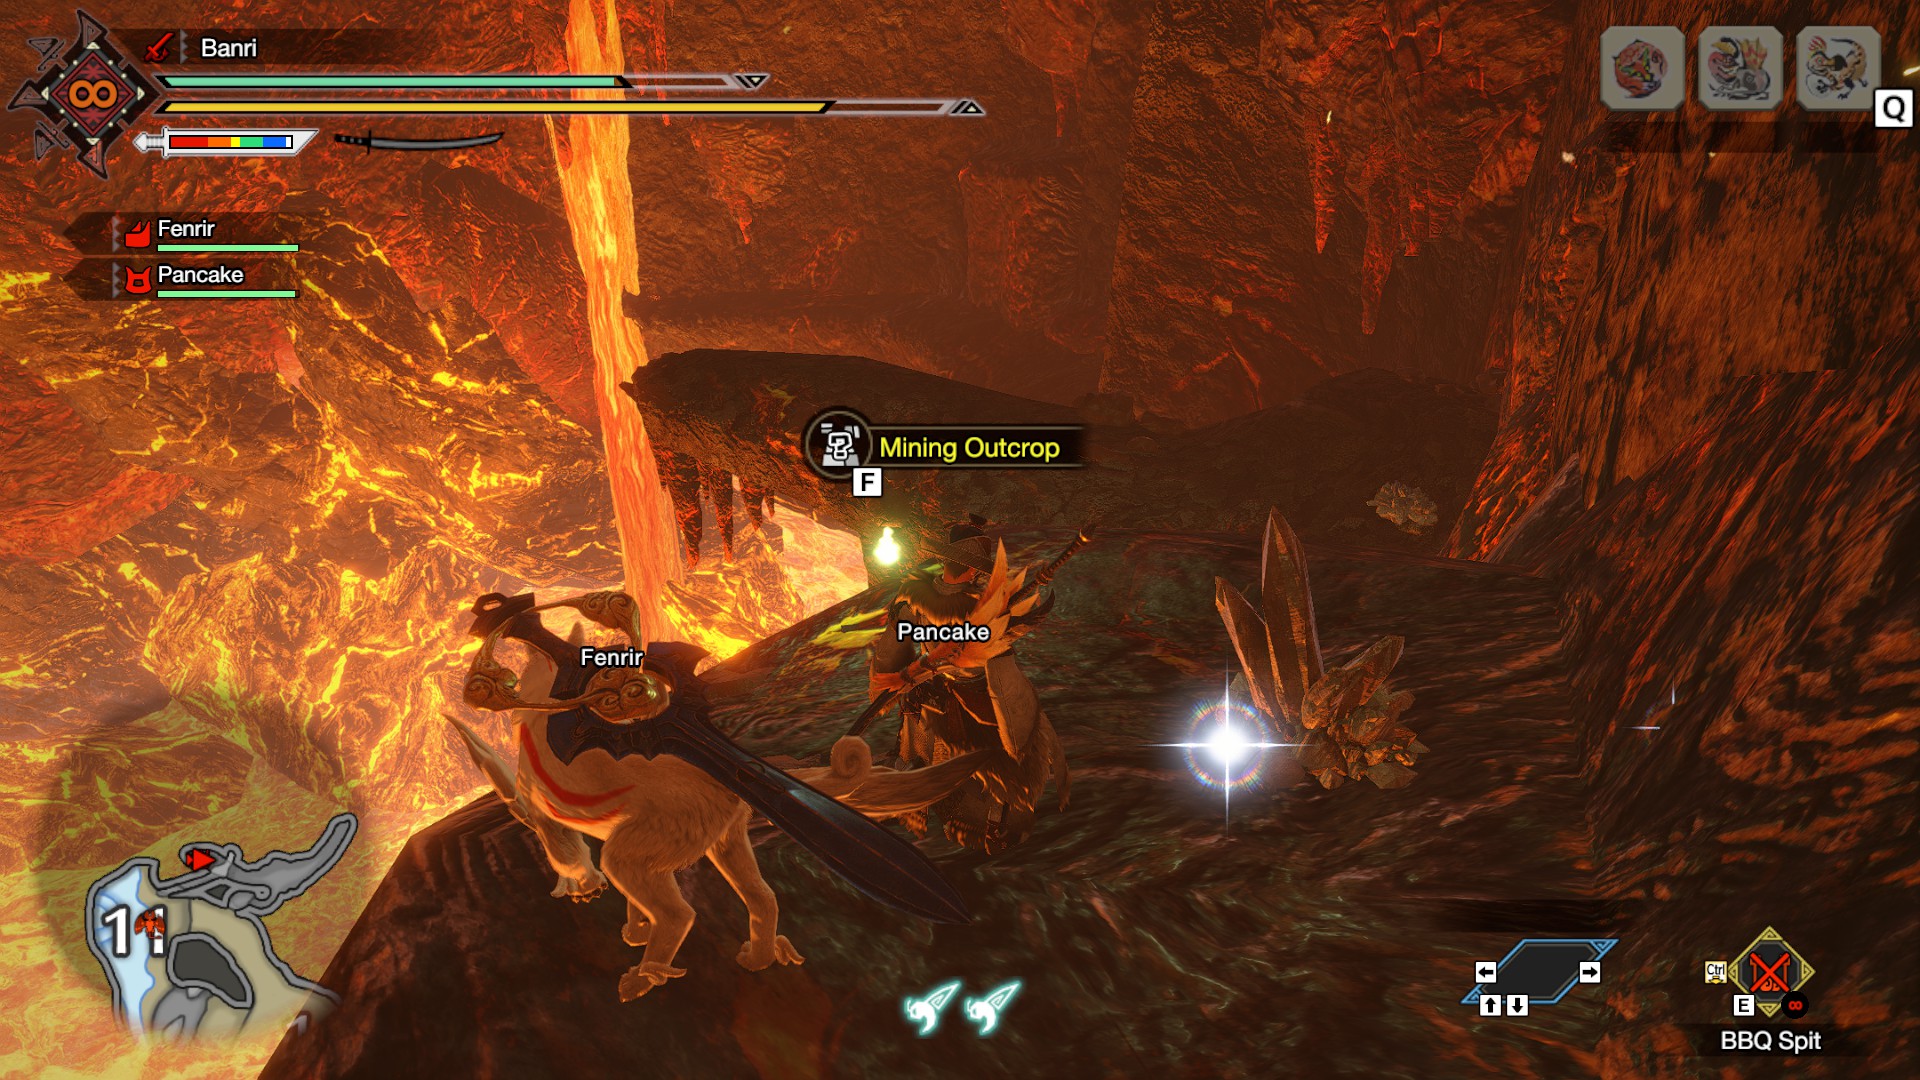
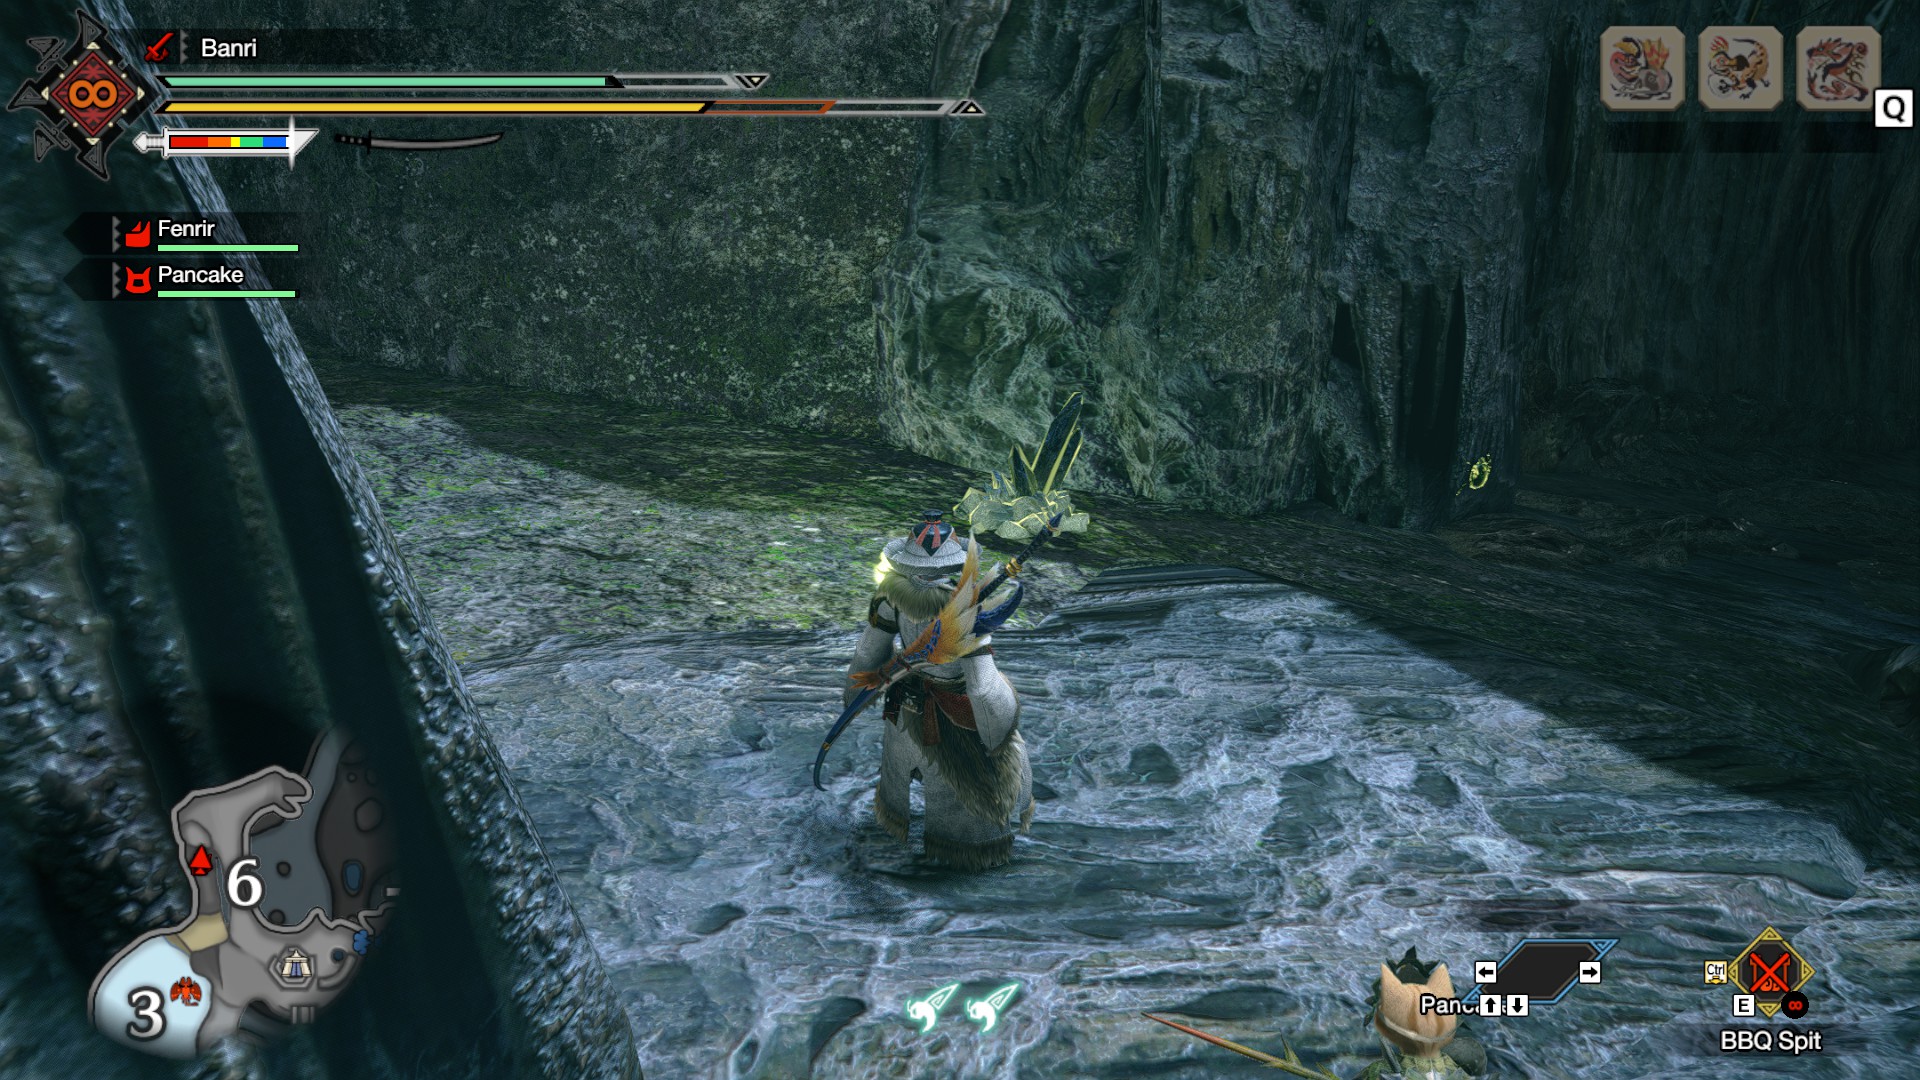
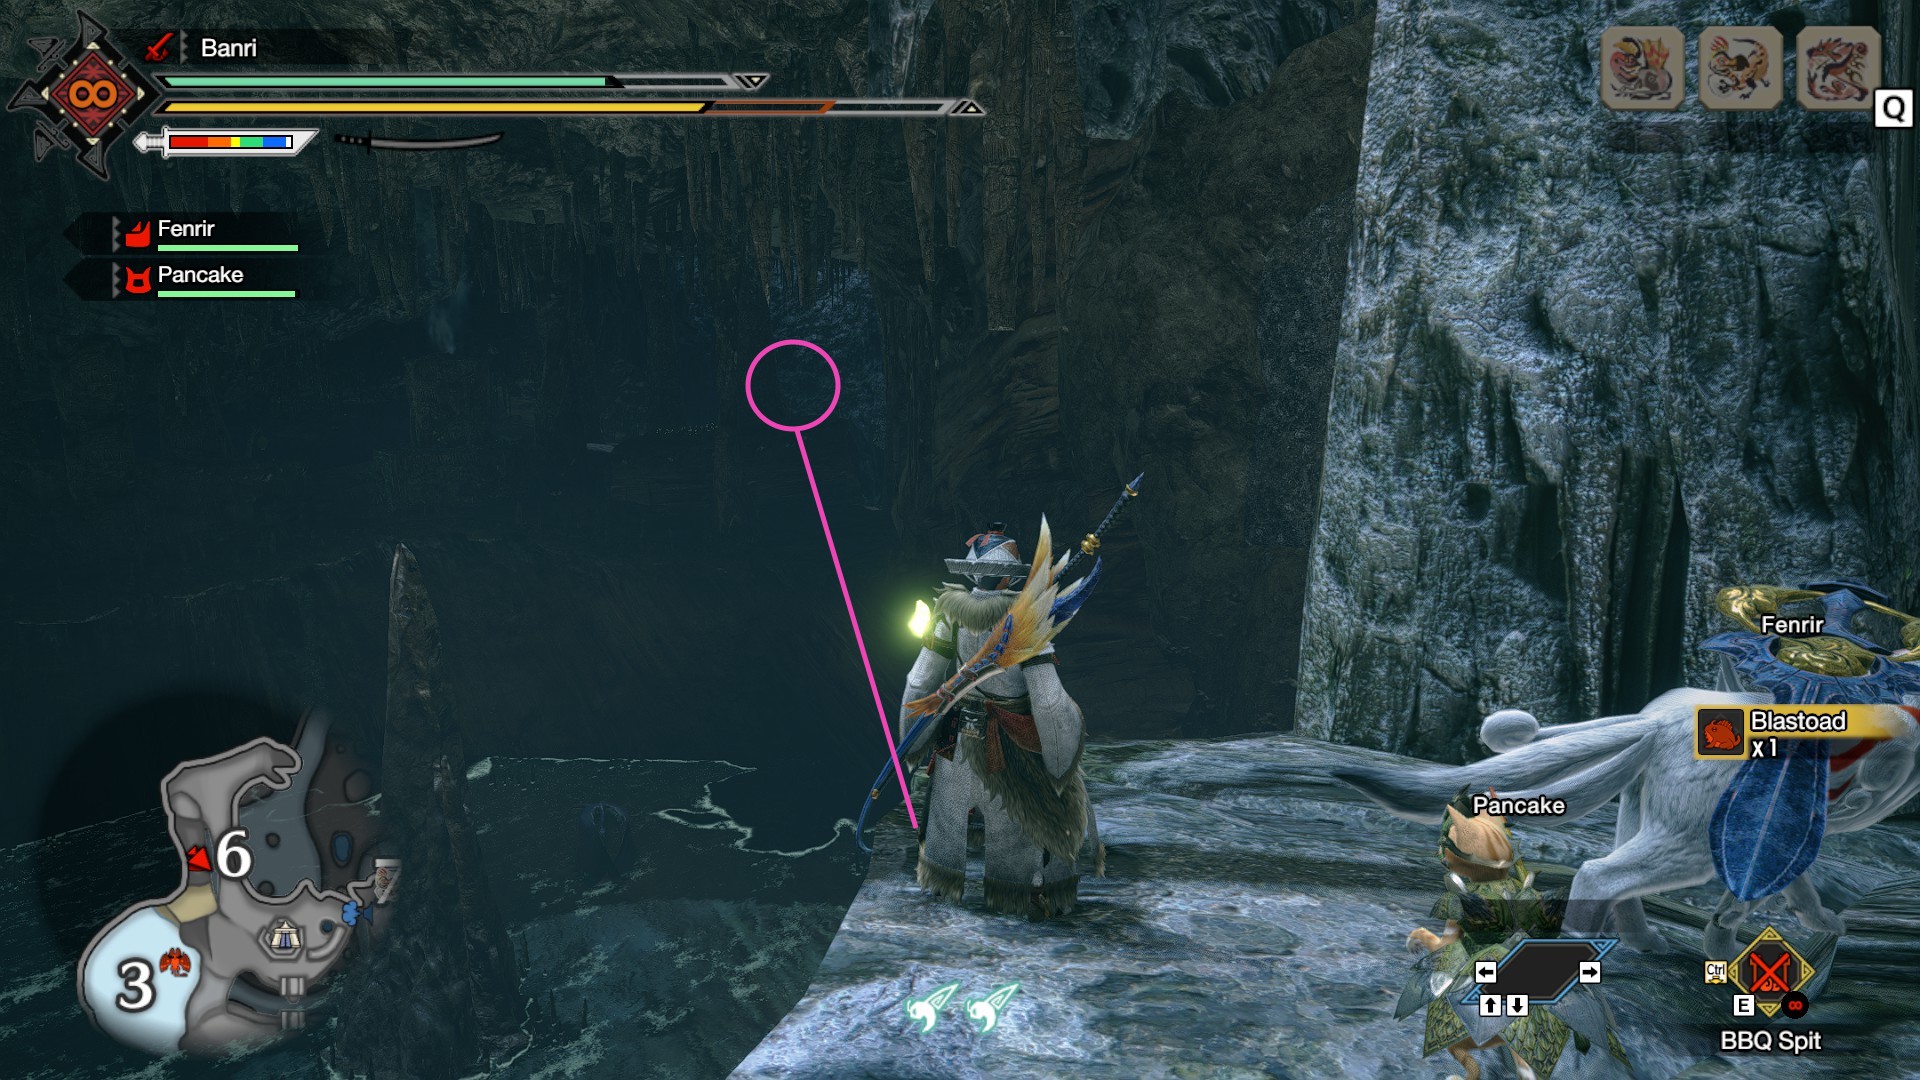
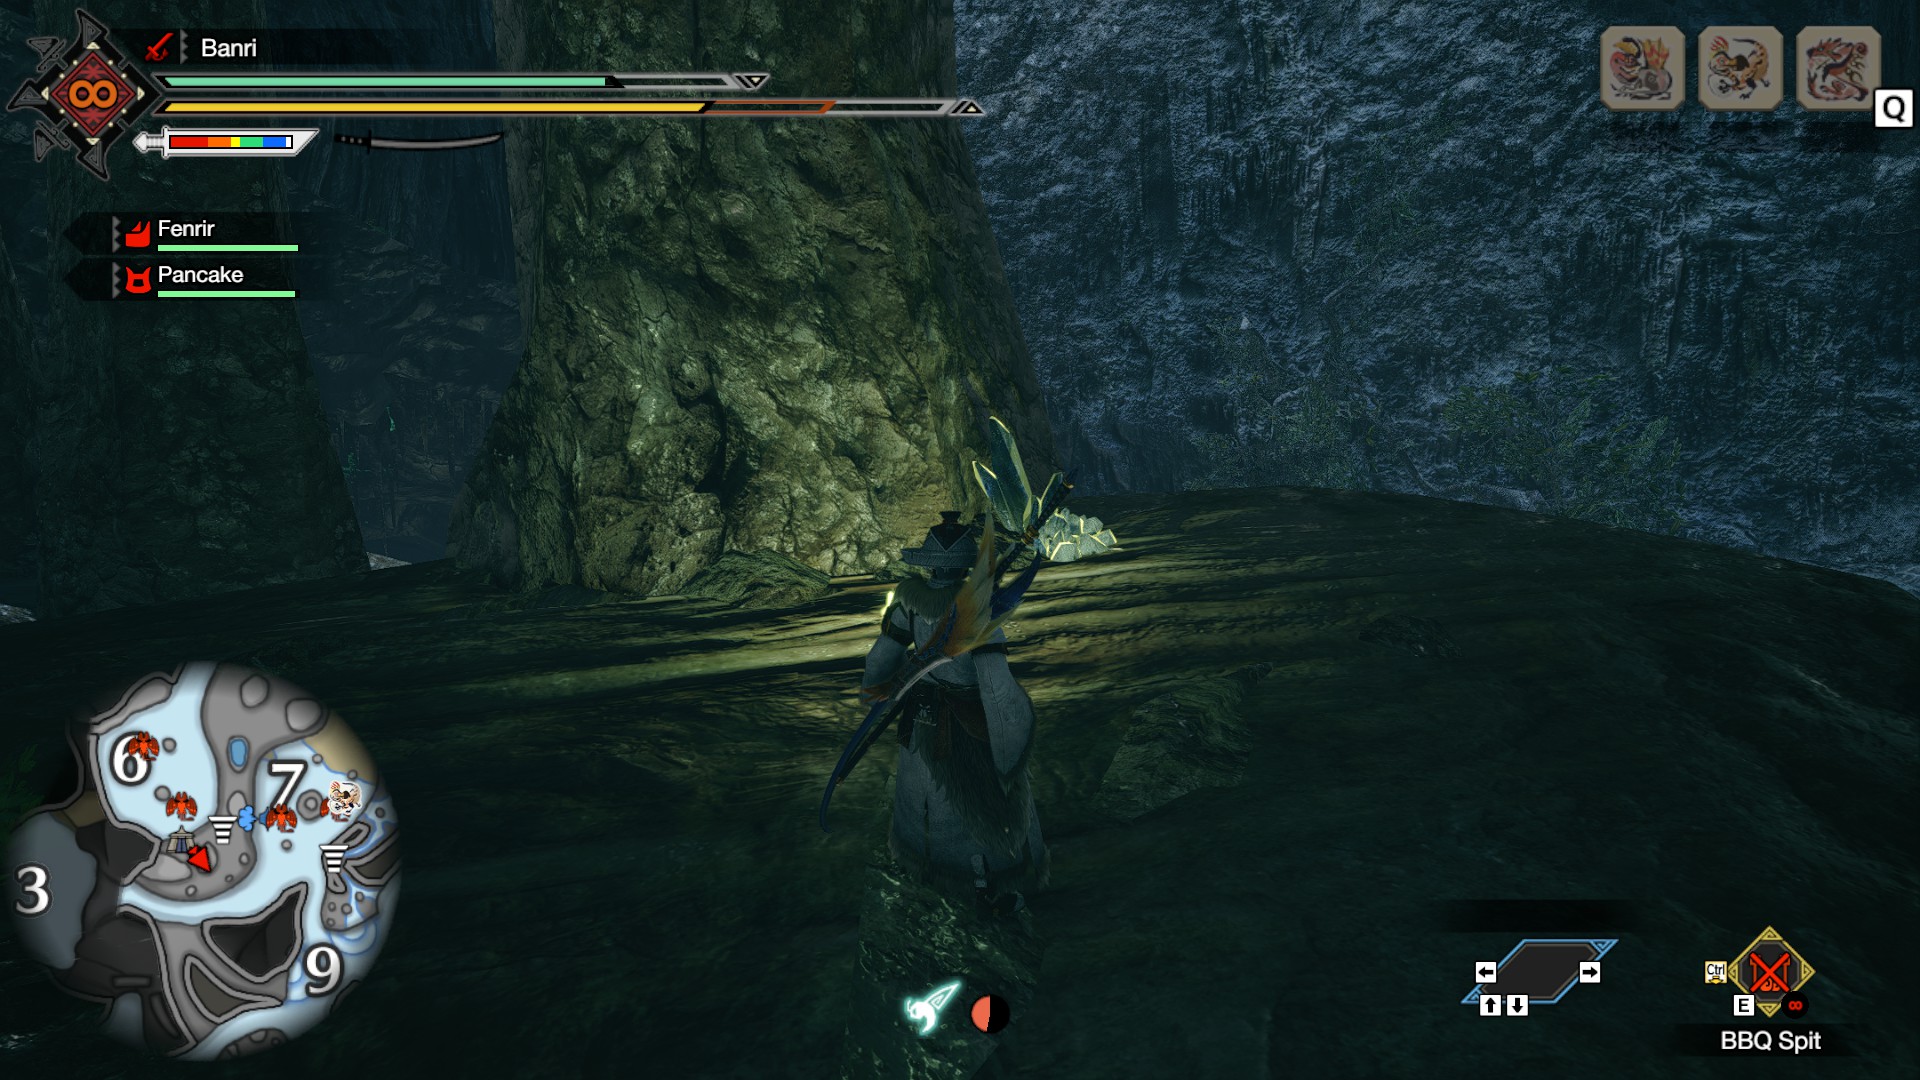
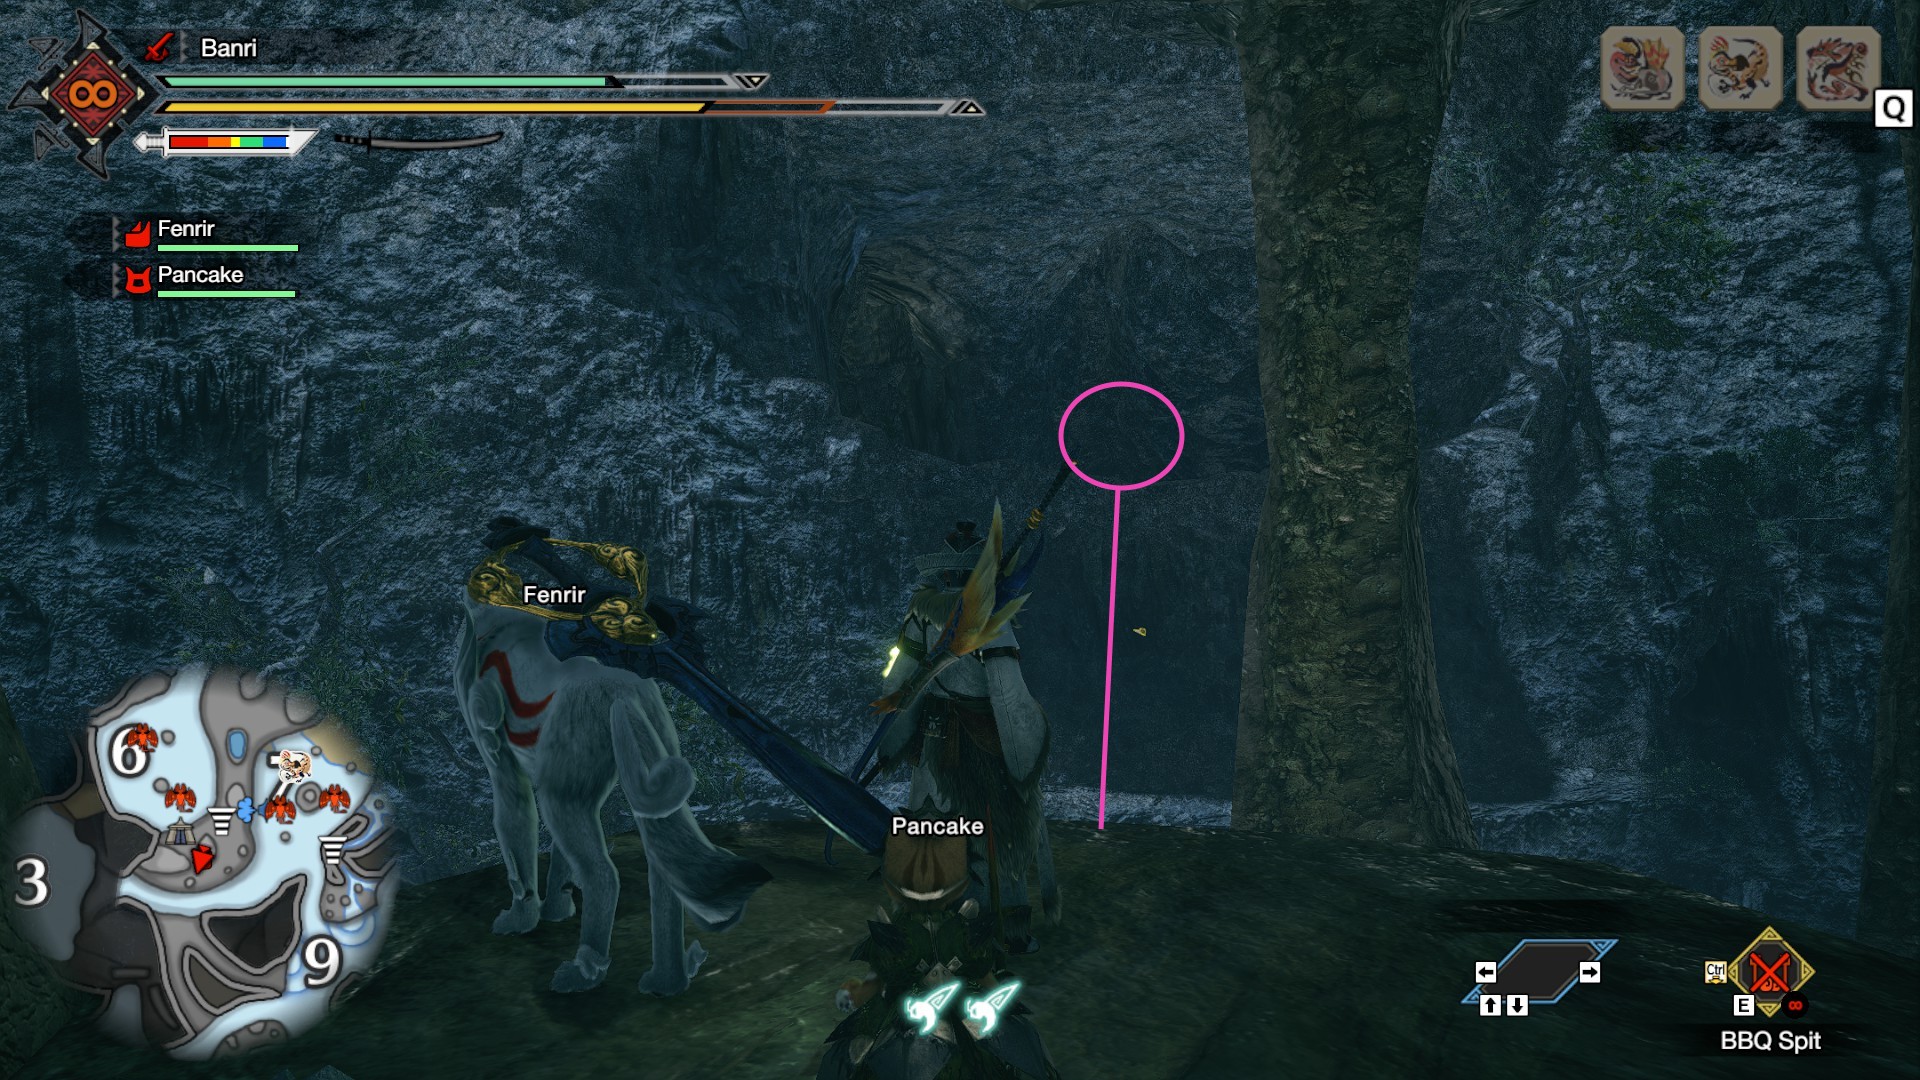
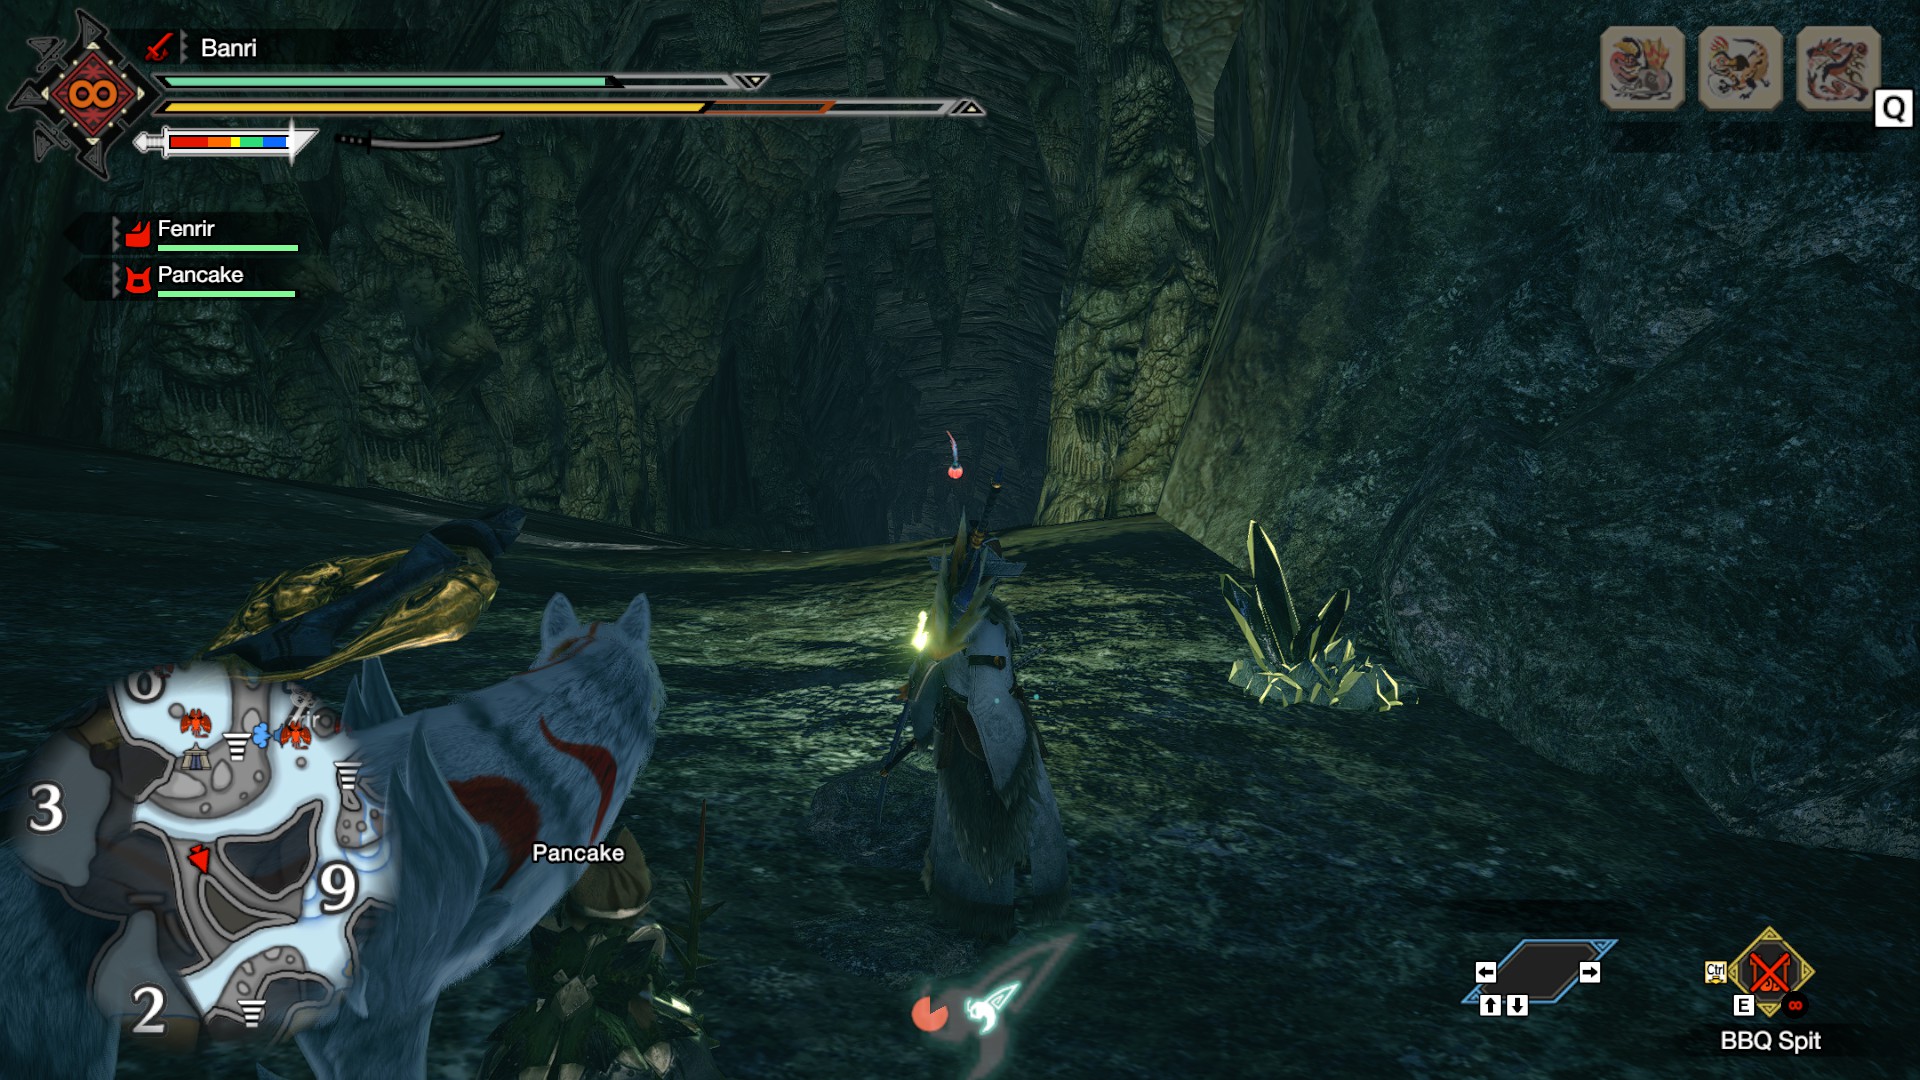
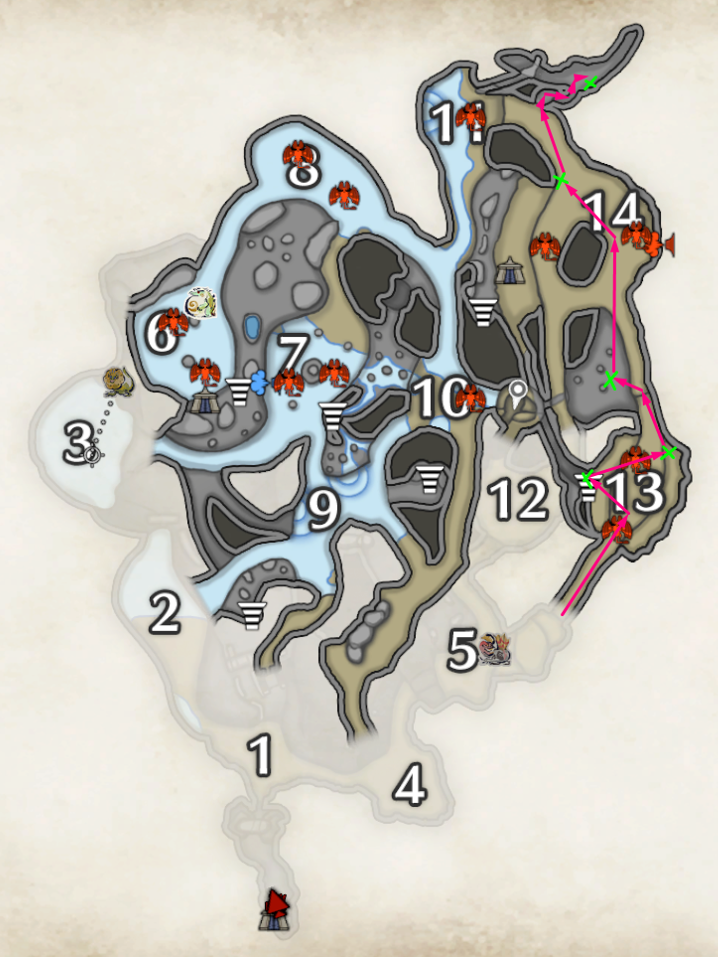
Images are in order from left to right.
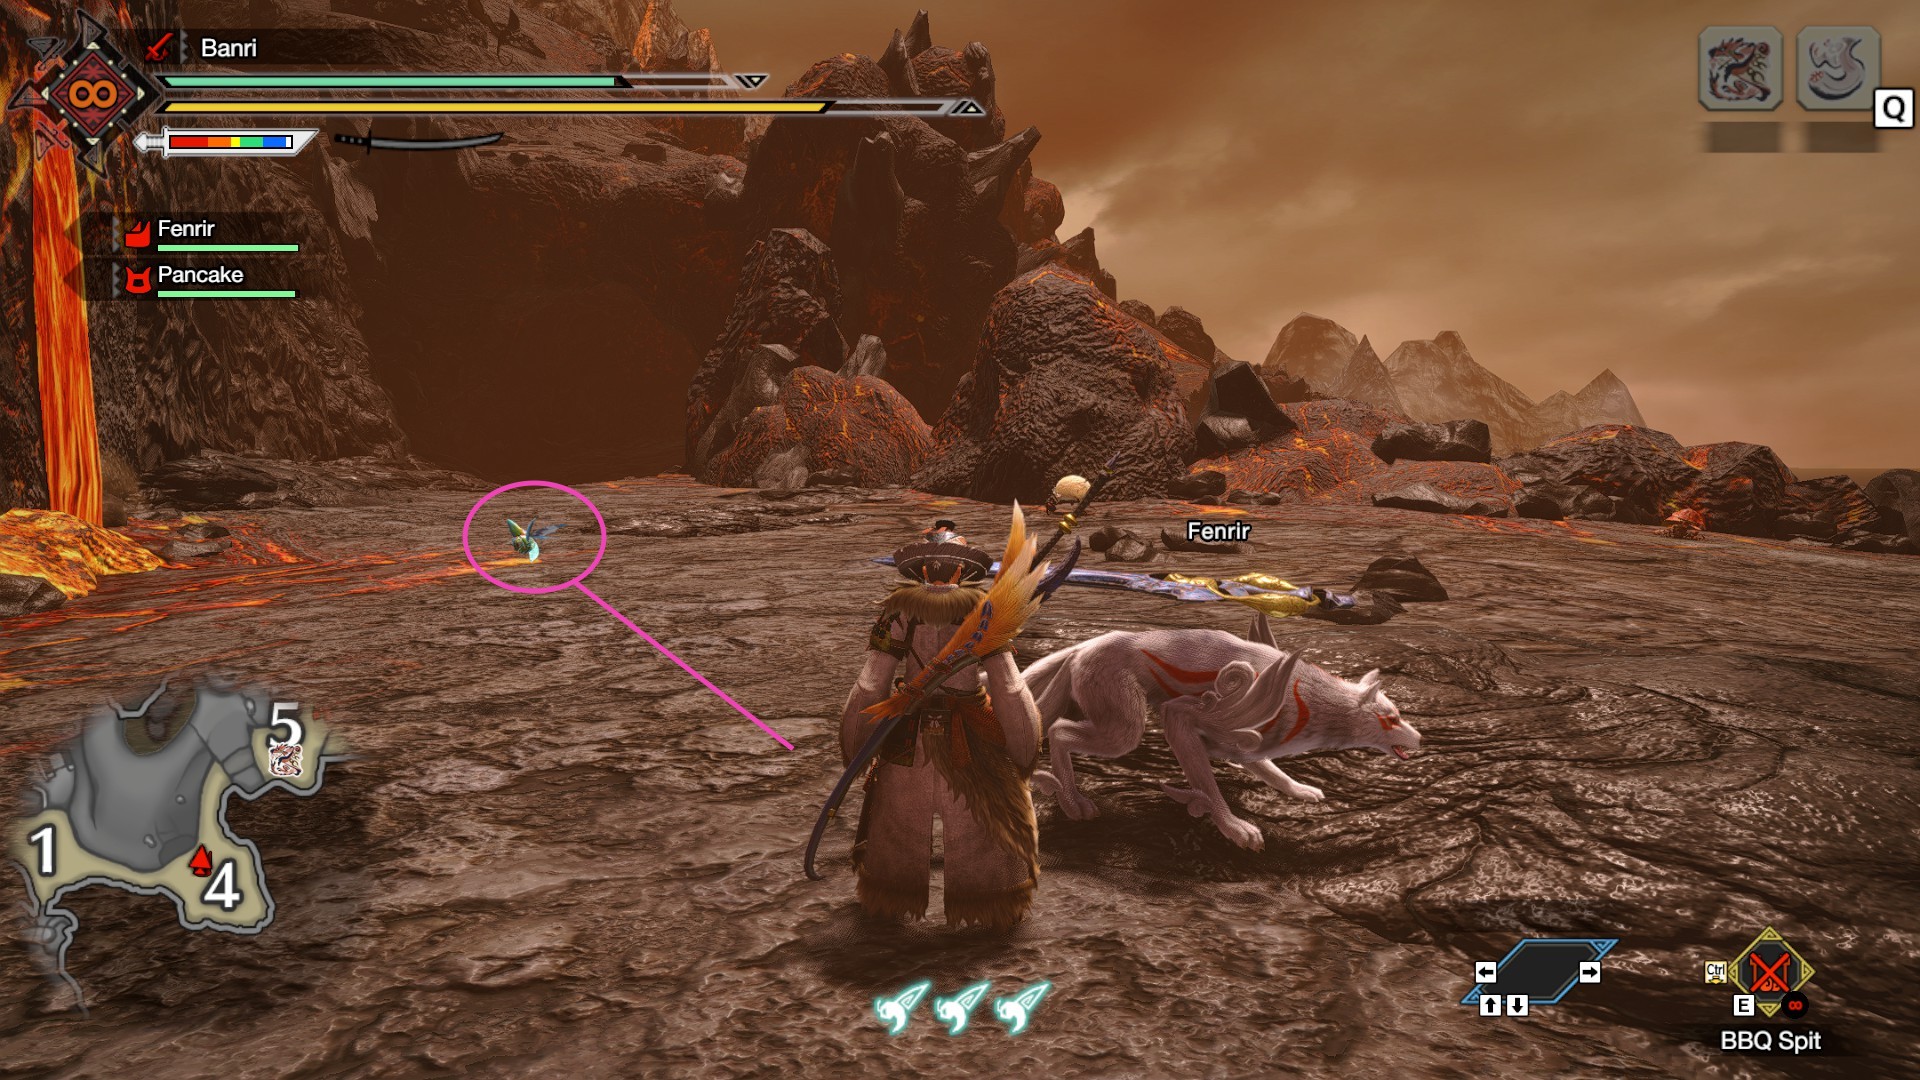
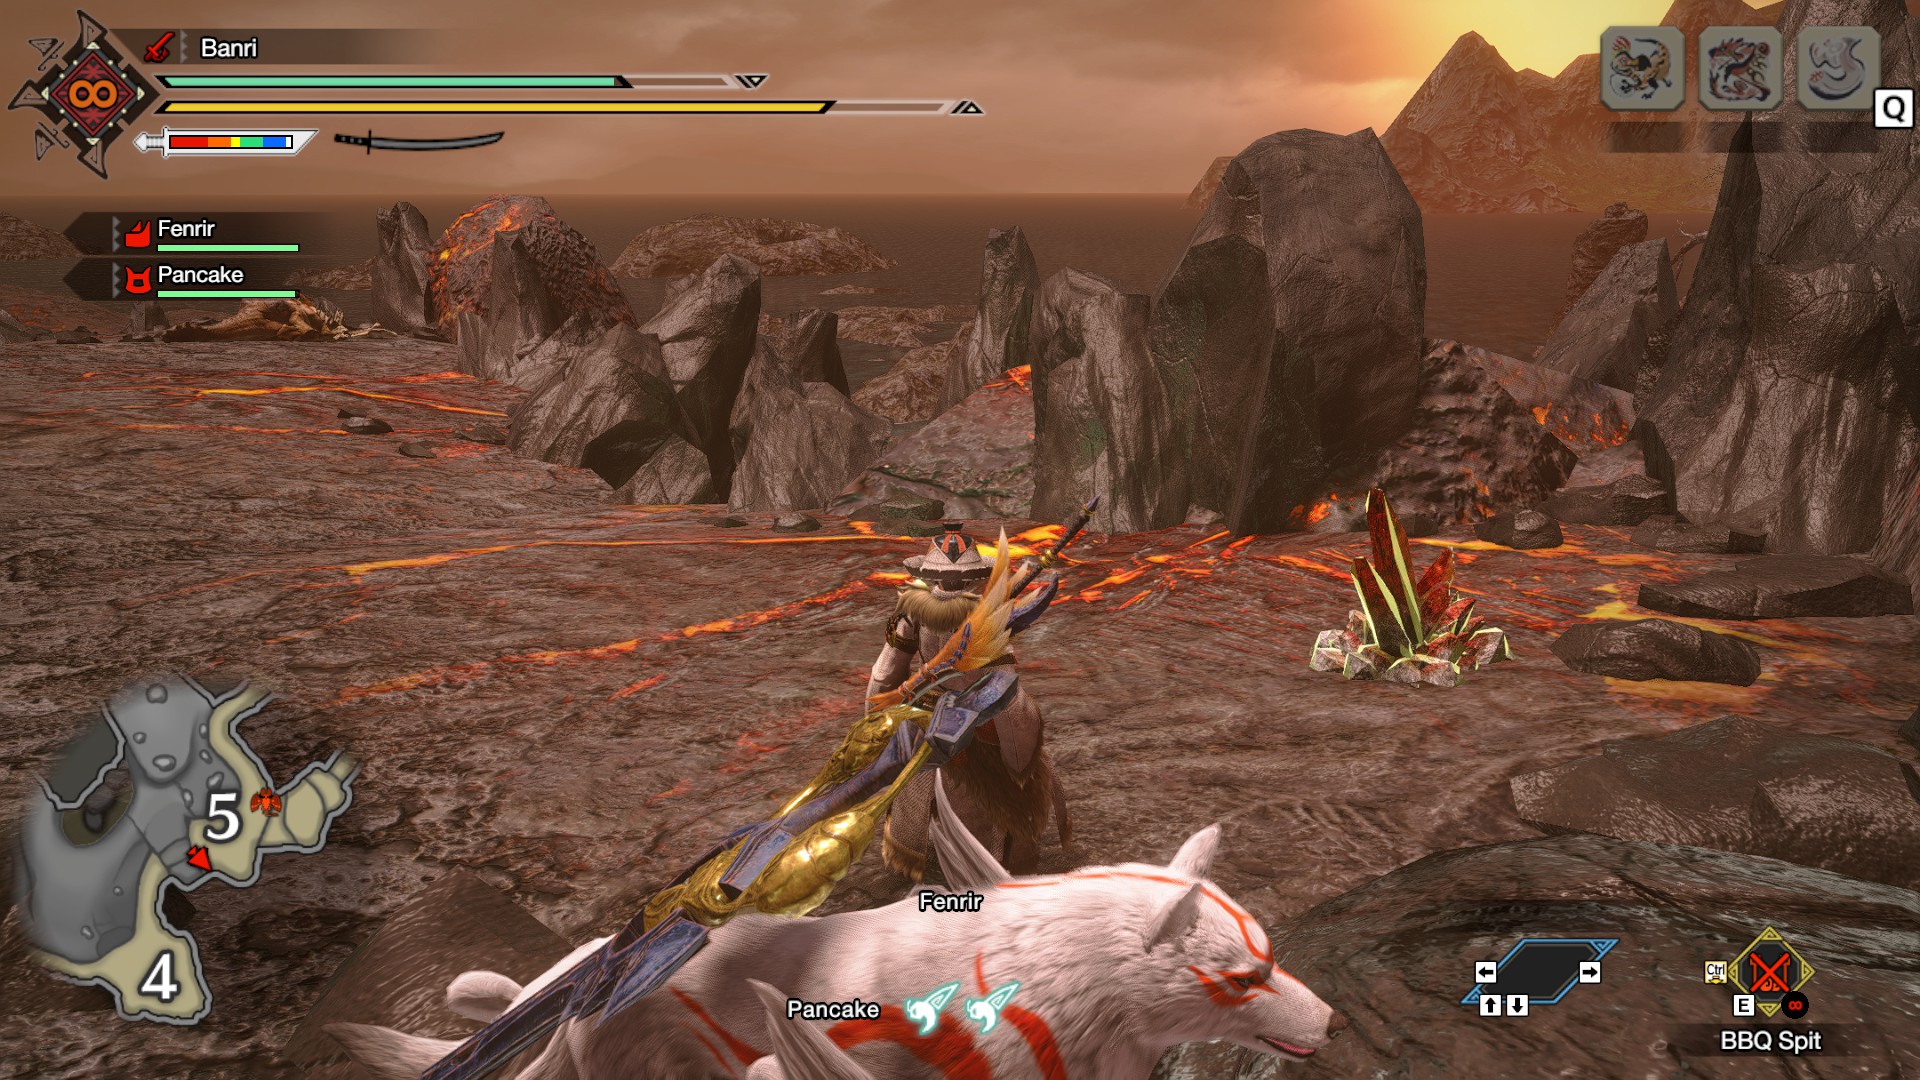
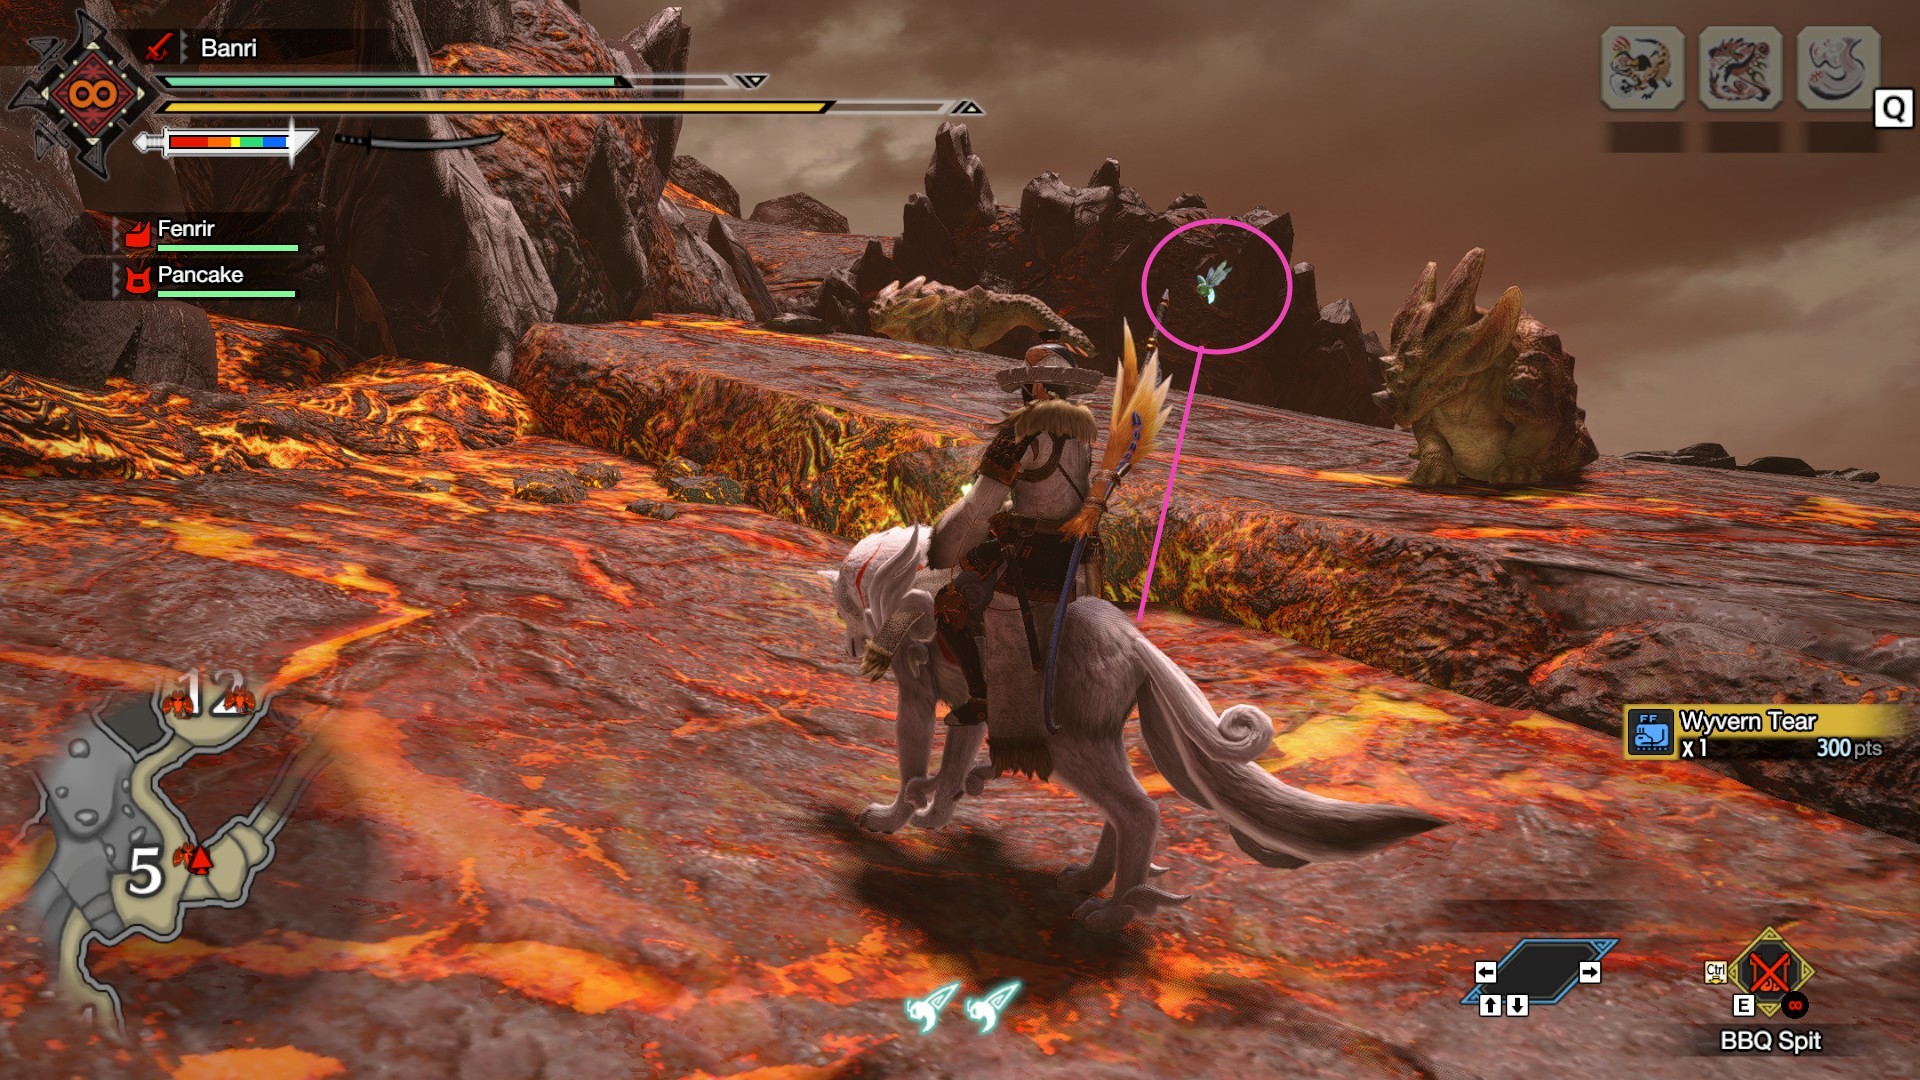
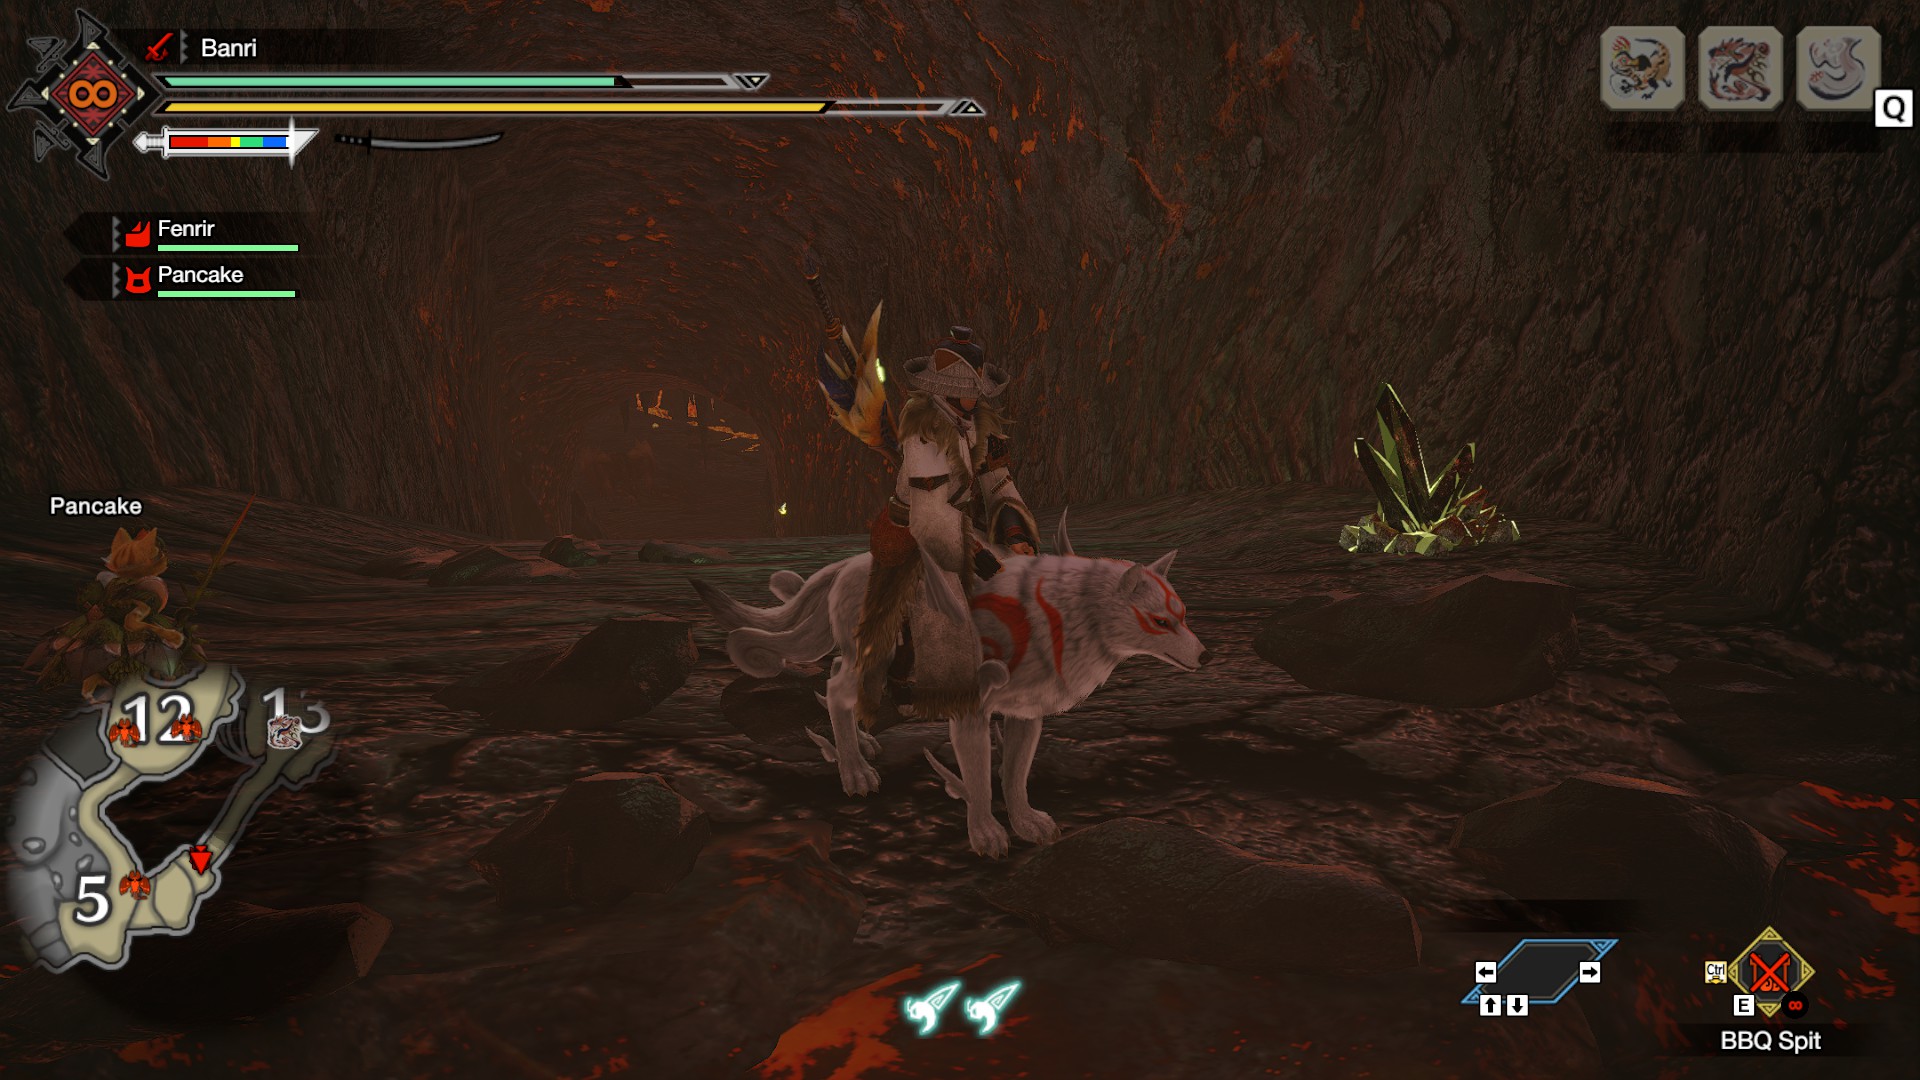

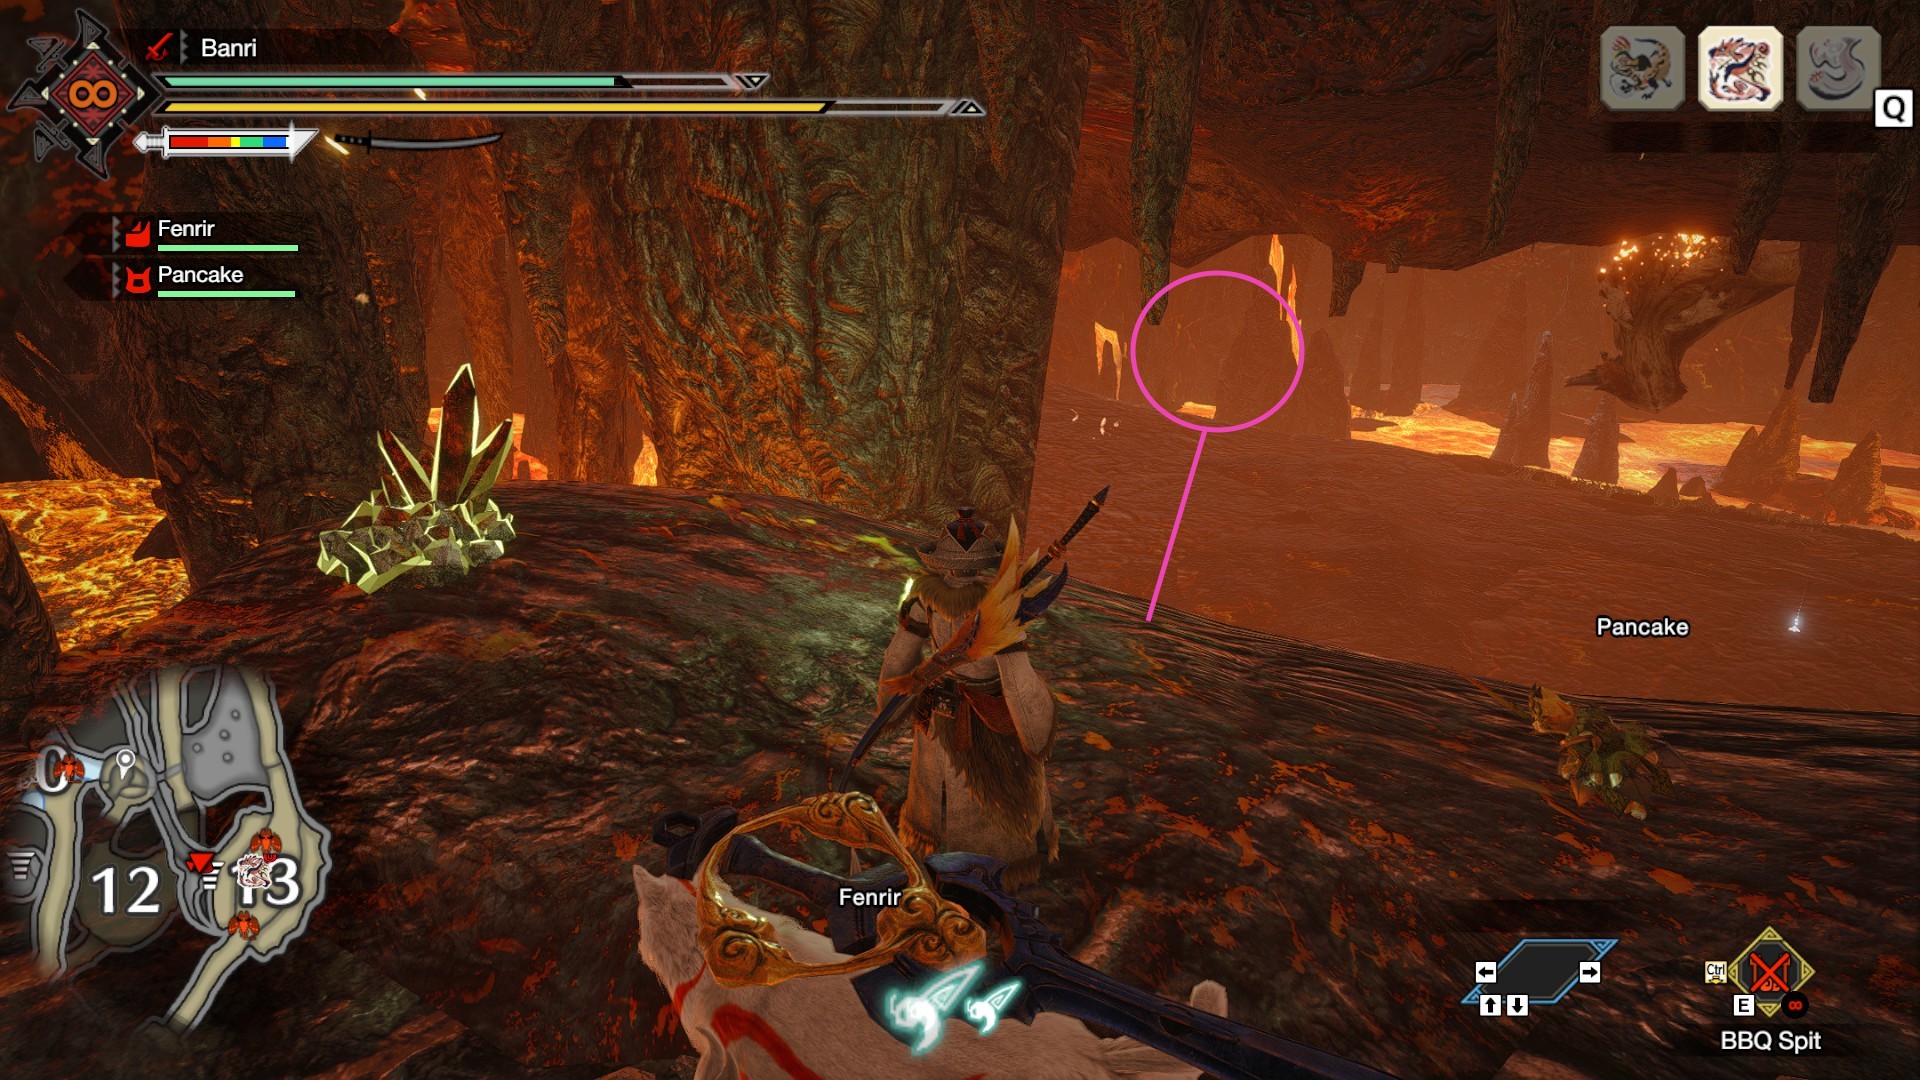

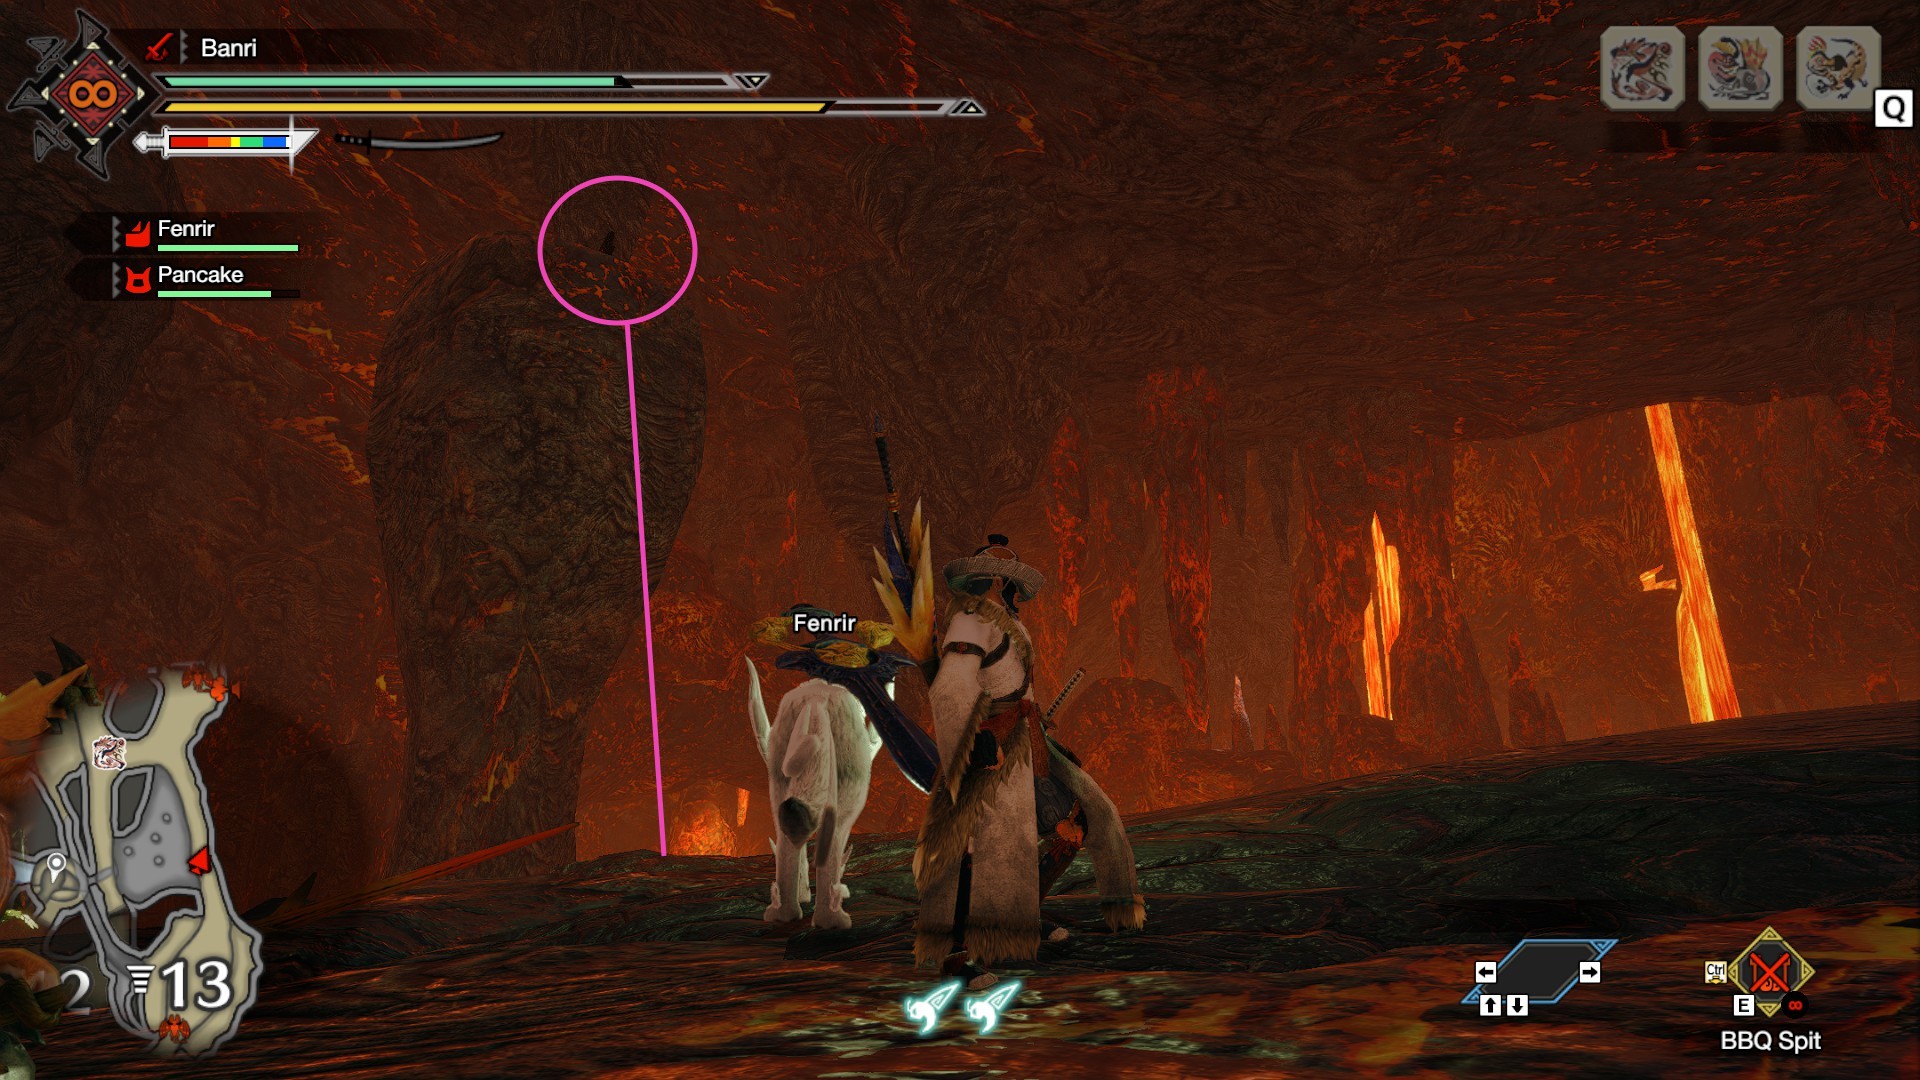
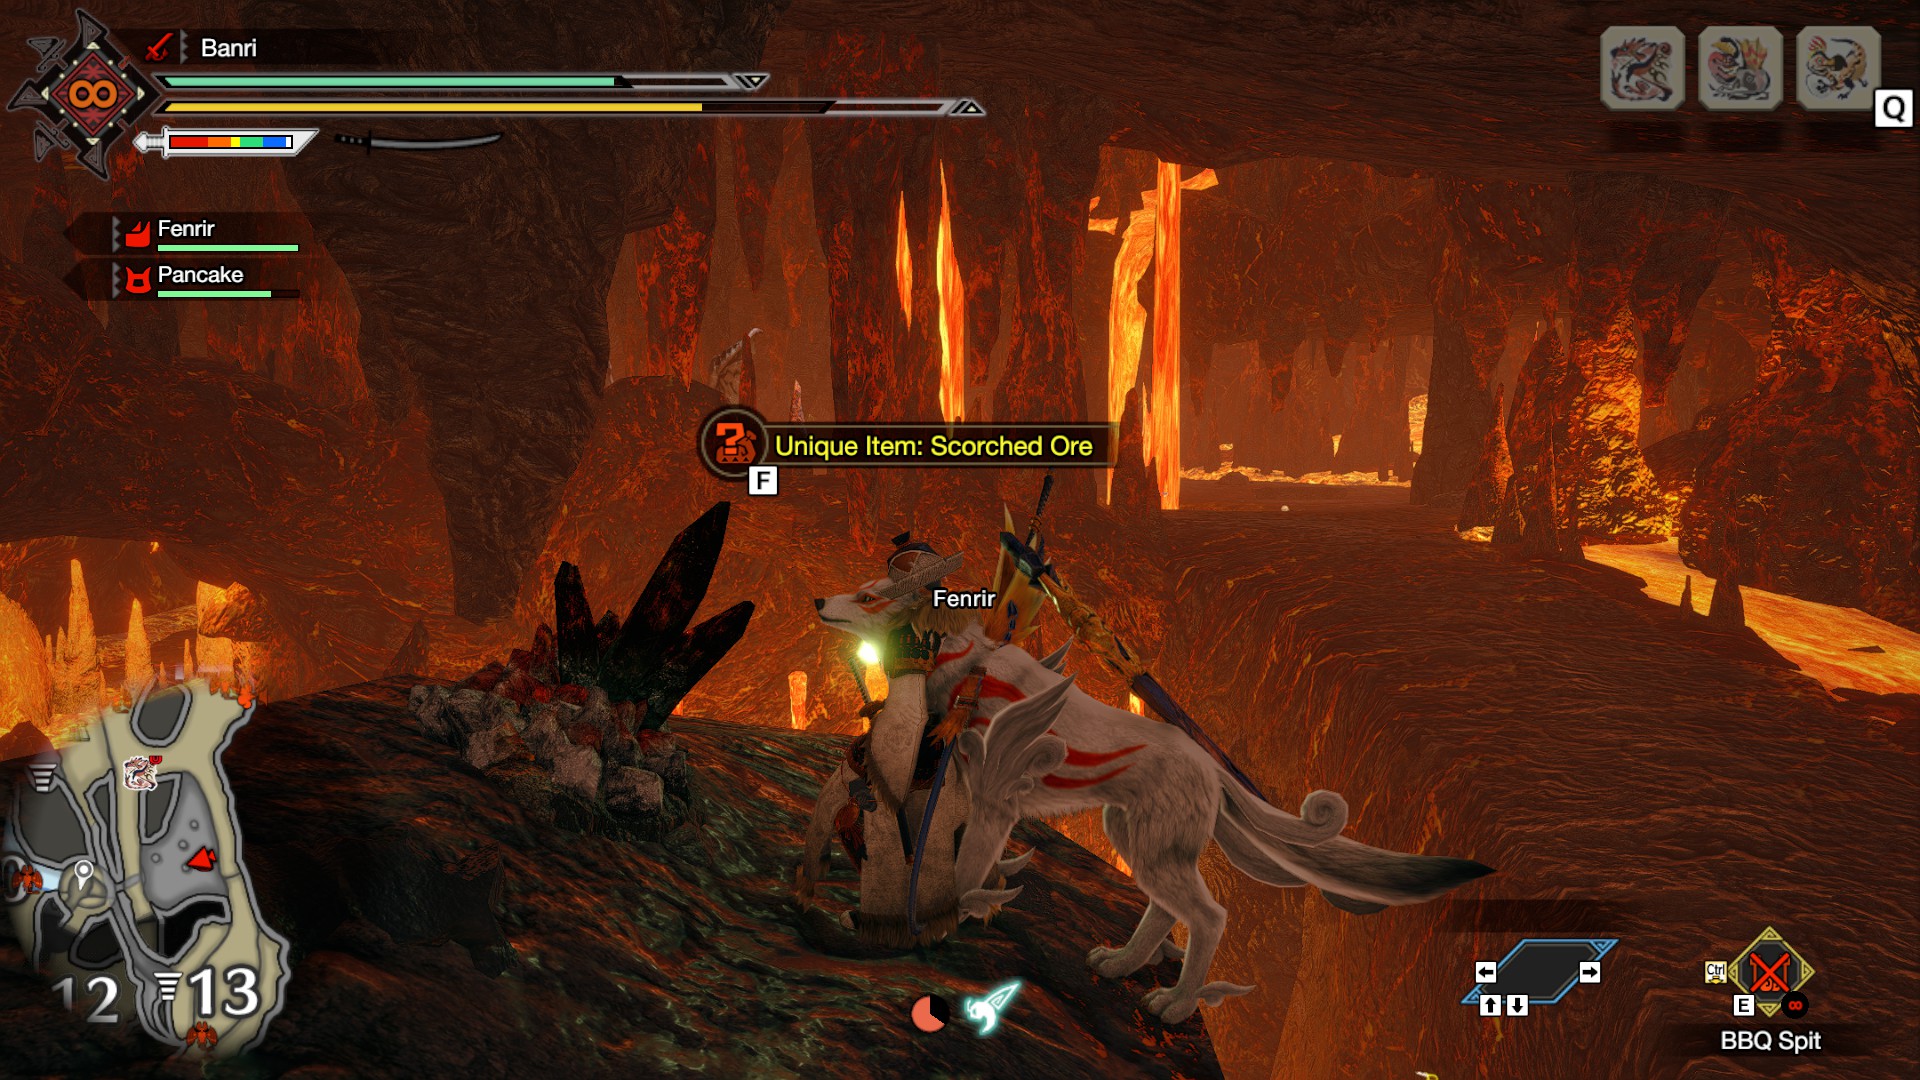

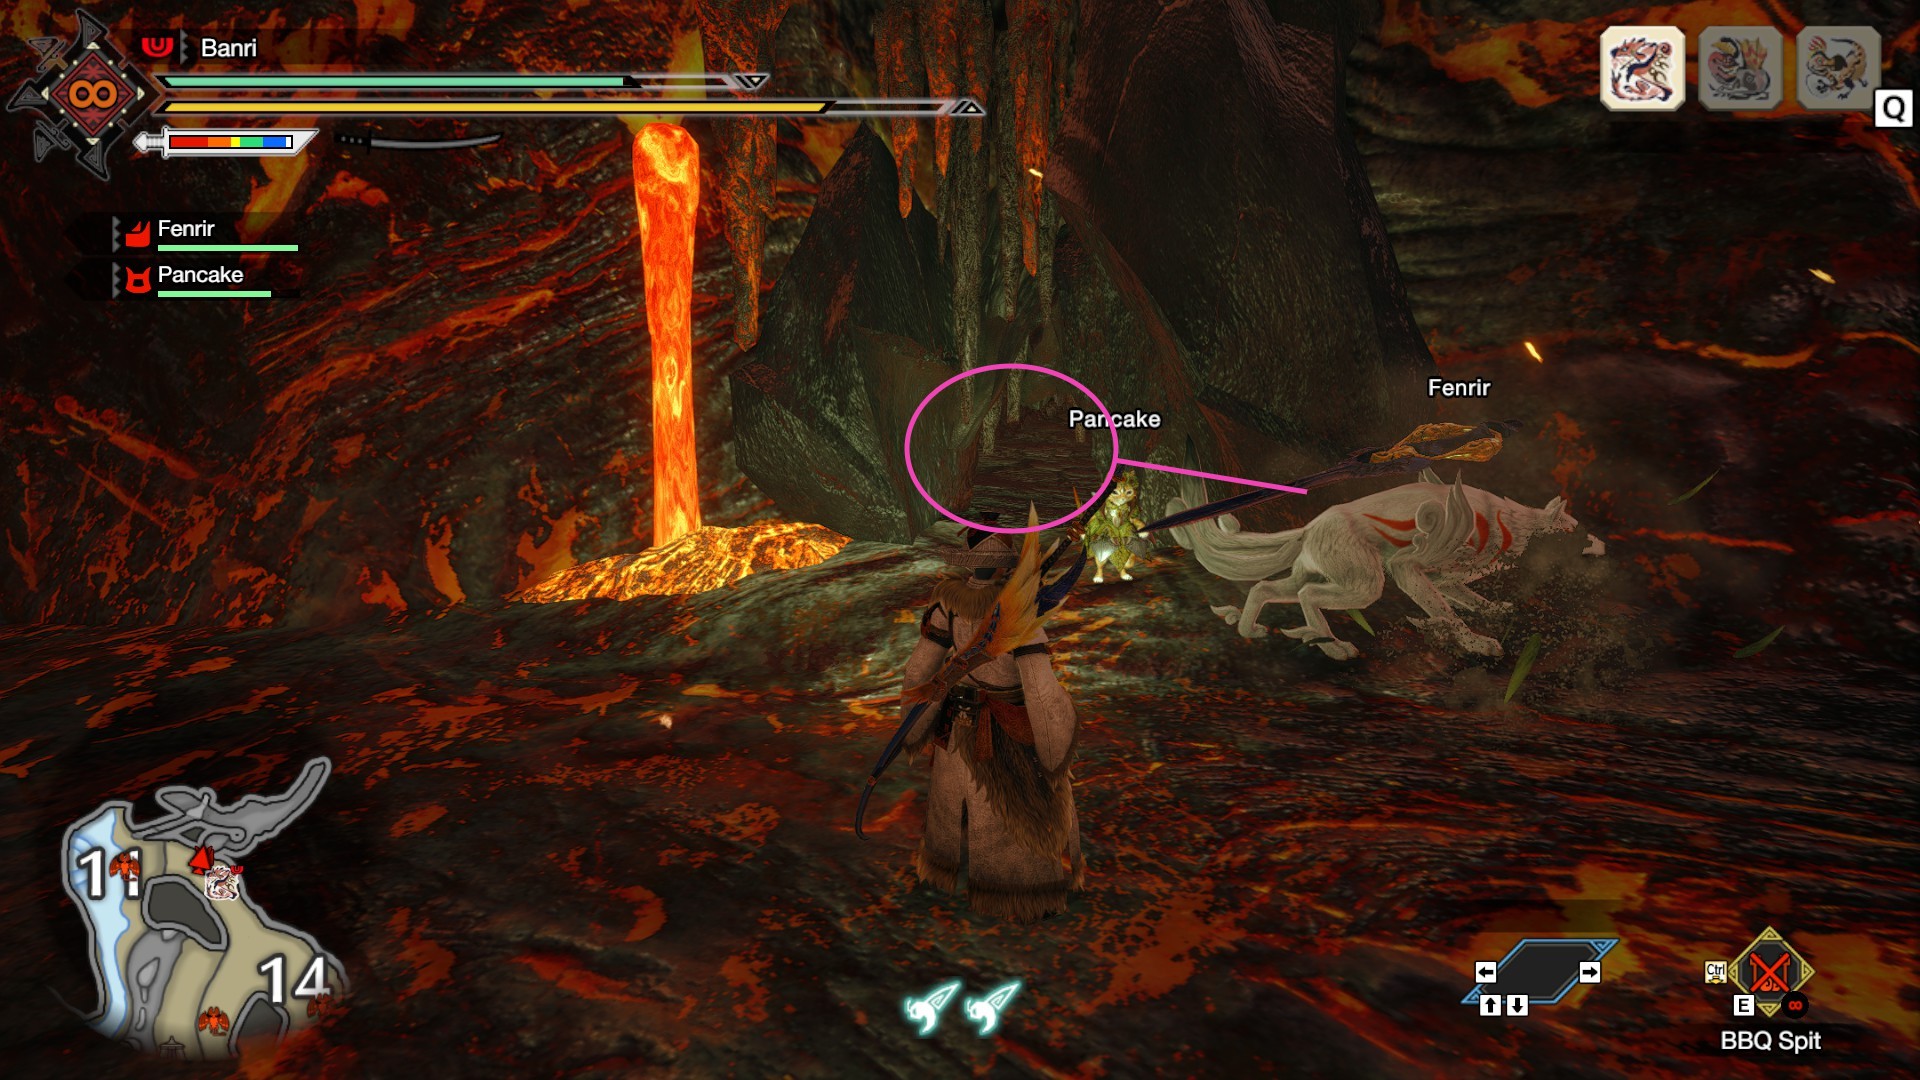
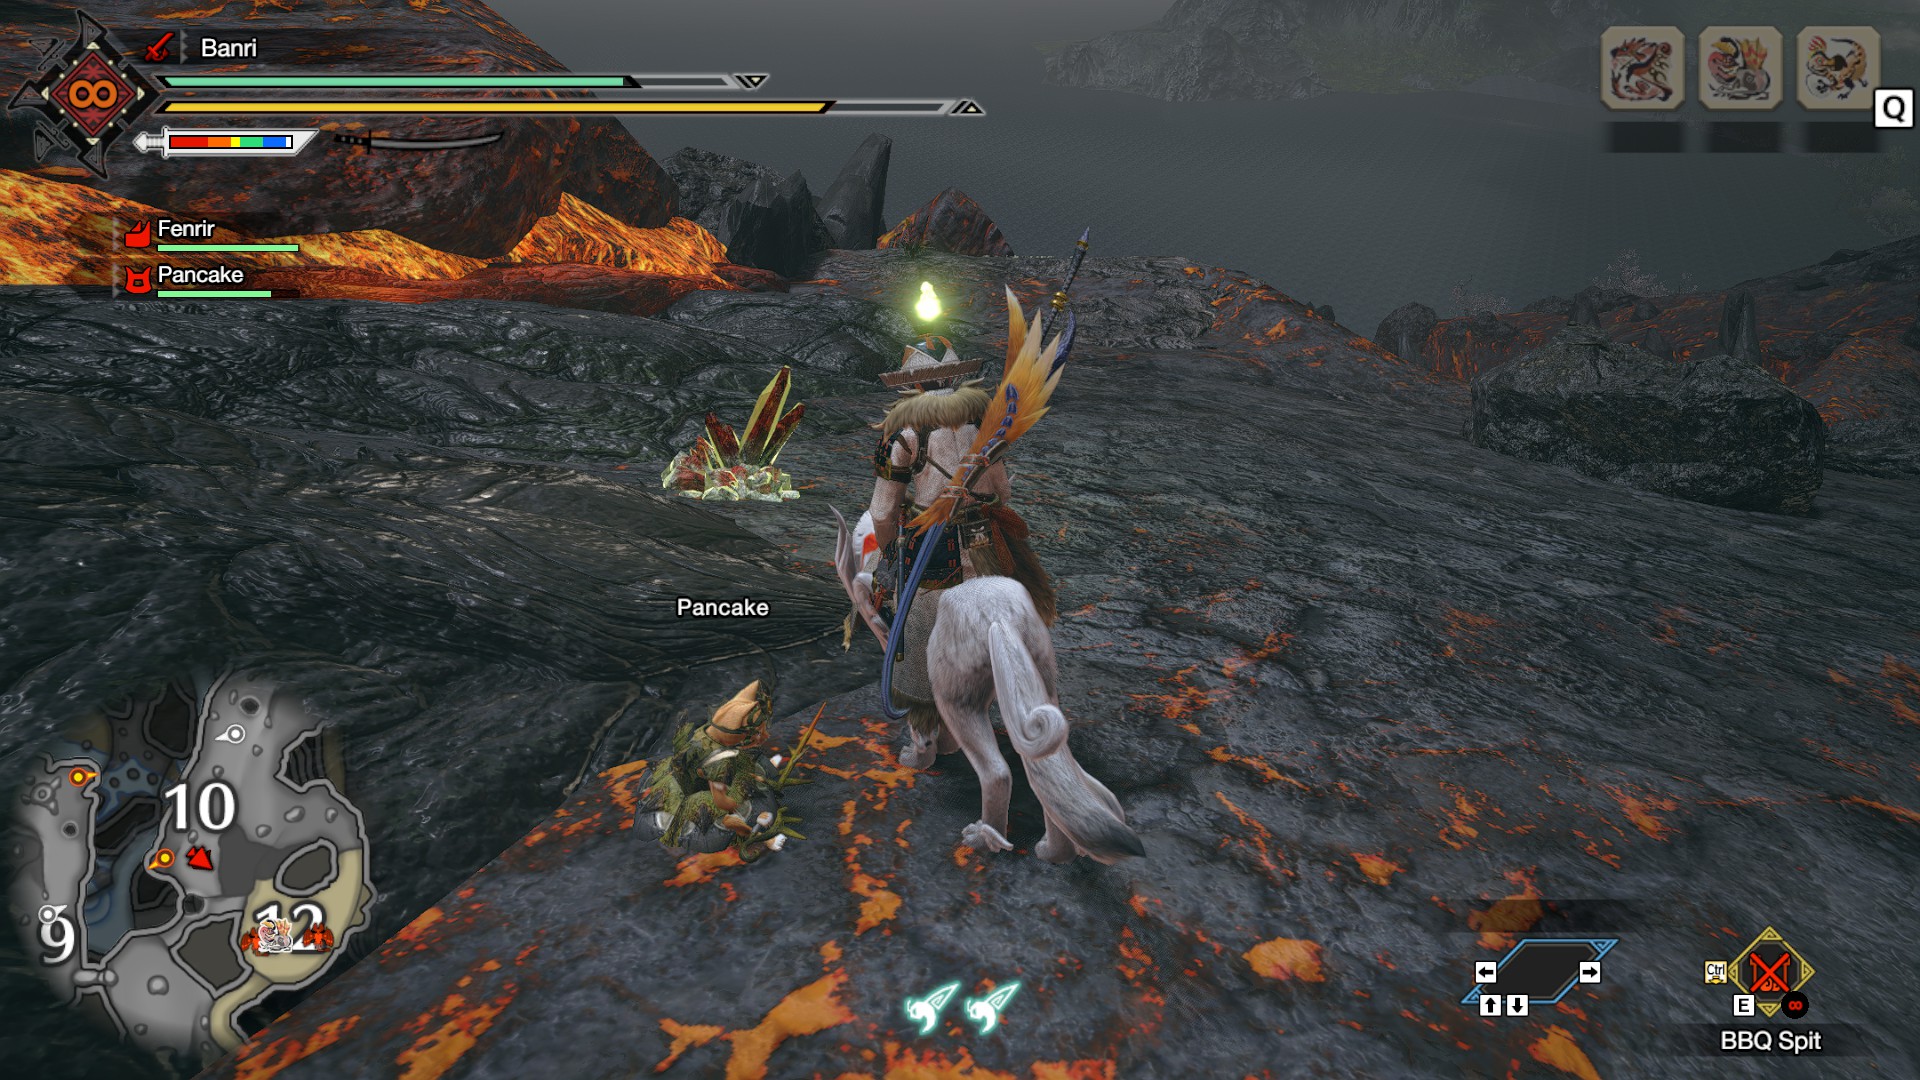
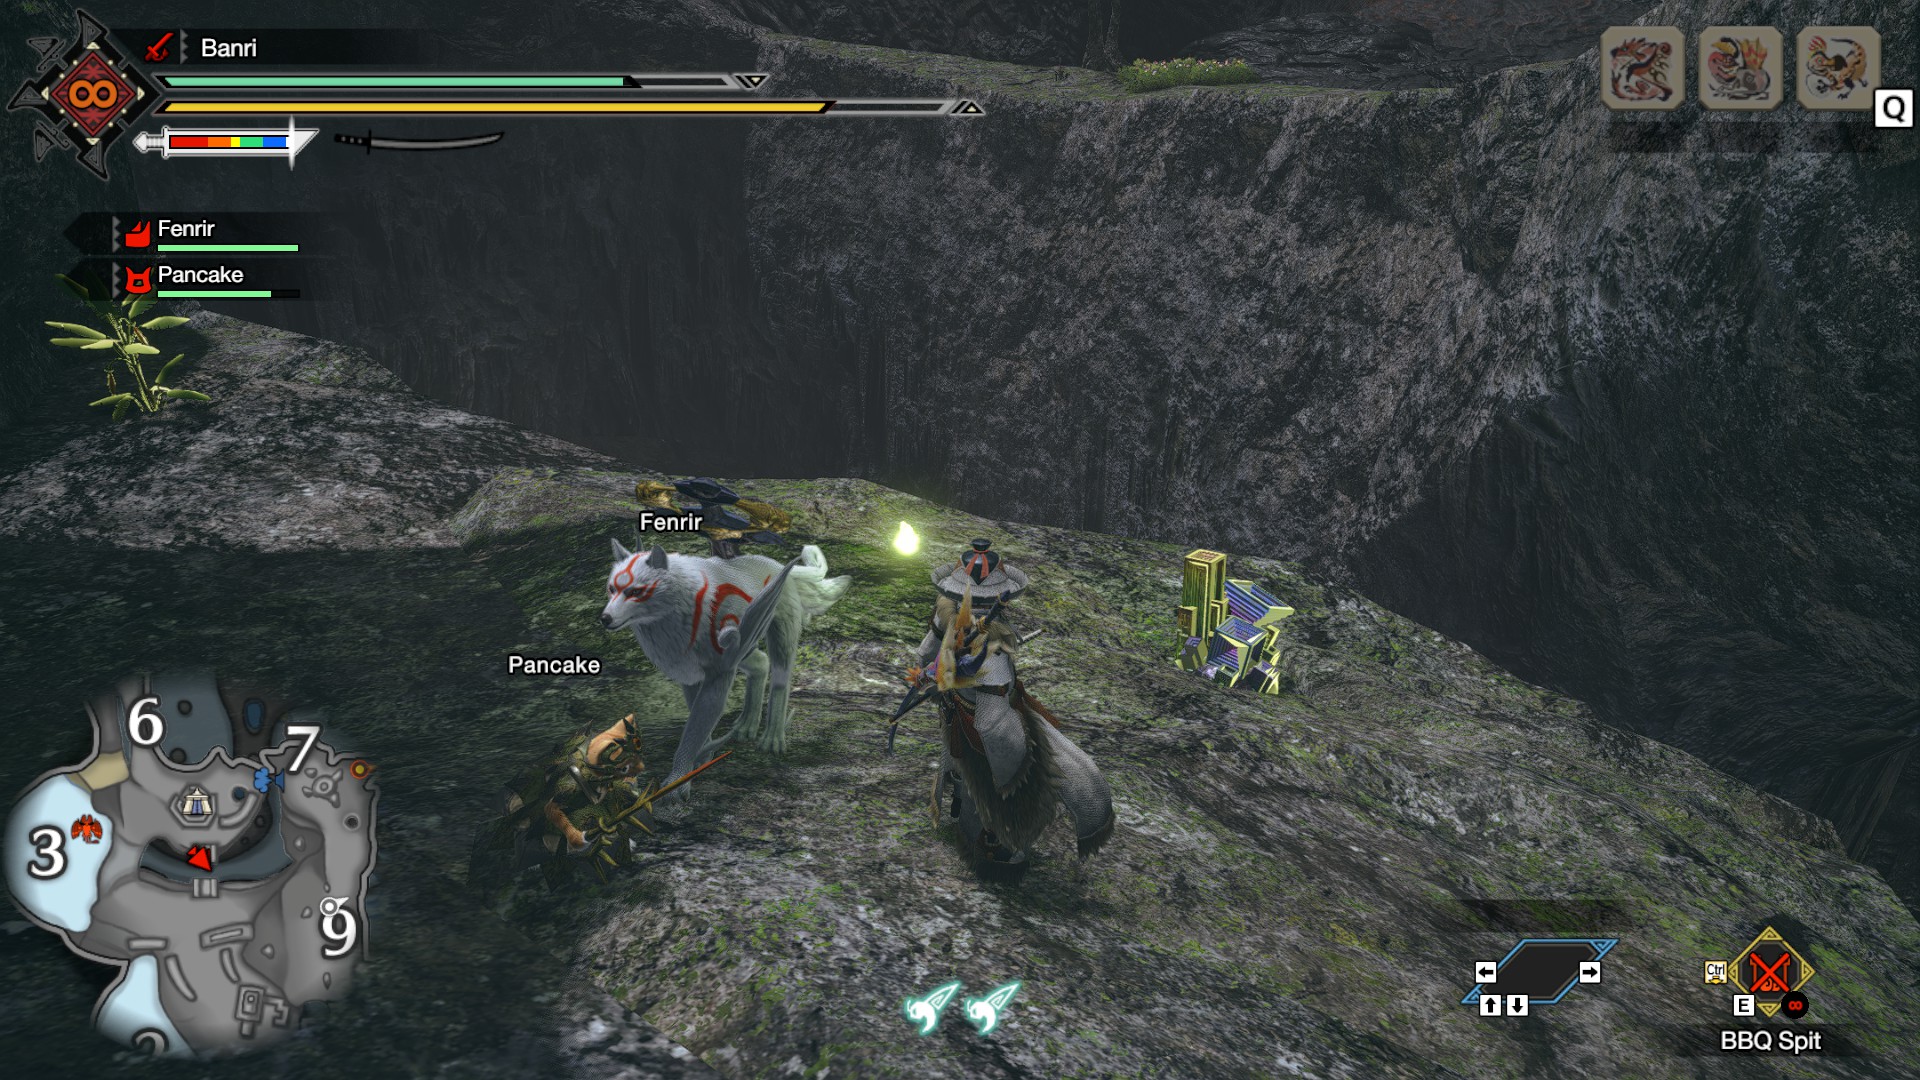
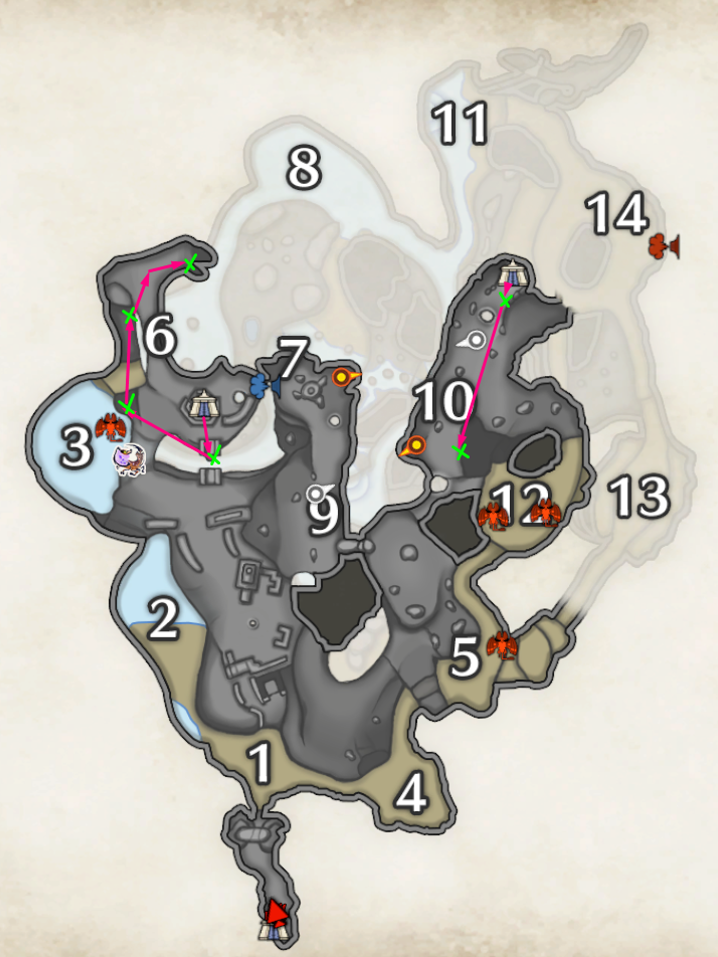
Images are in order from left to right.